dimexi wrote:
Starting Point, Map light console removal
I started at this point, because I figured it was the easiest bit, and I could work with gravity to make my life easier.
Get one of the trim removal tools and start to take off the map light console panels. I was gentle, and managed to get away without breaking any clips.
Start with the panel that has the Mic grills on; work from the side towards you and go all the way round till it comes off:
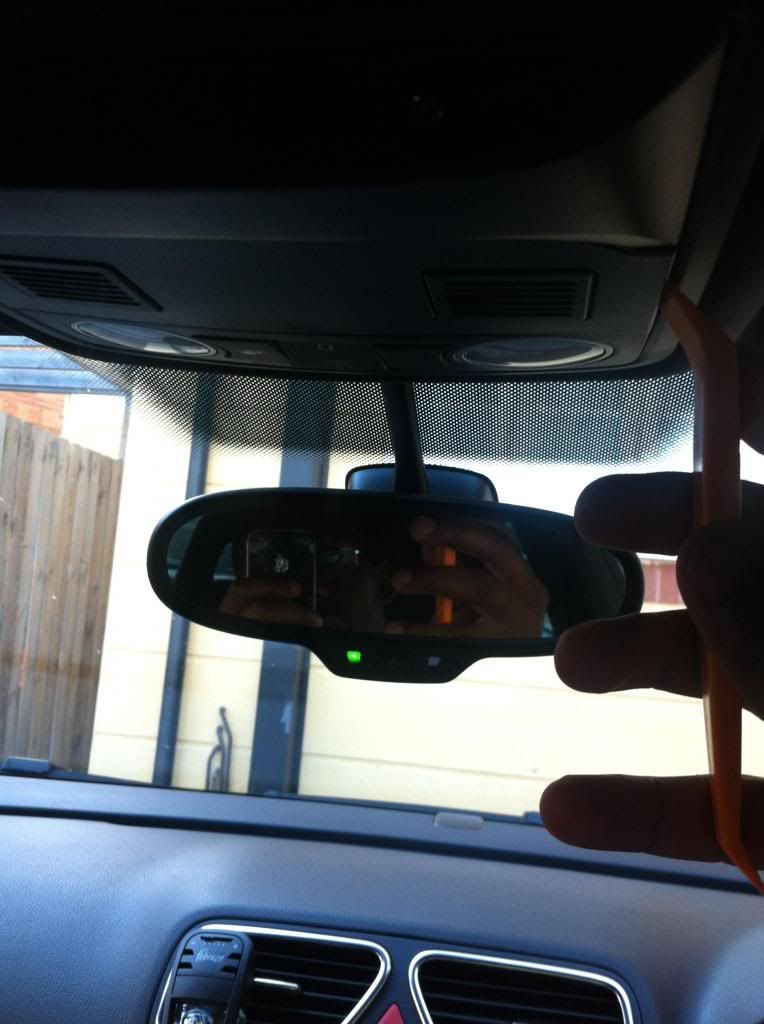
After you have taken that off, move to the motion sensor panels and start to pry from the side closest to you again. Work your way towards the “front” of the panel ,where the sensors are located. Do not pry off the back as the panel is on a hinge (apologies for the lack of pics, I took some in retrospect. I hope you get the picture though).
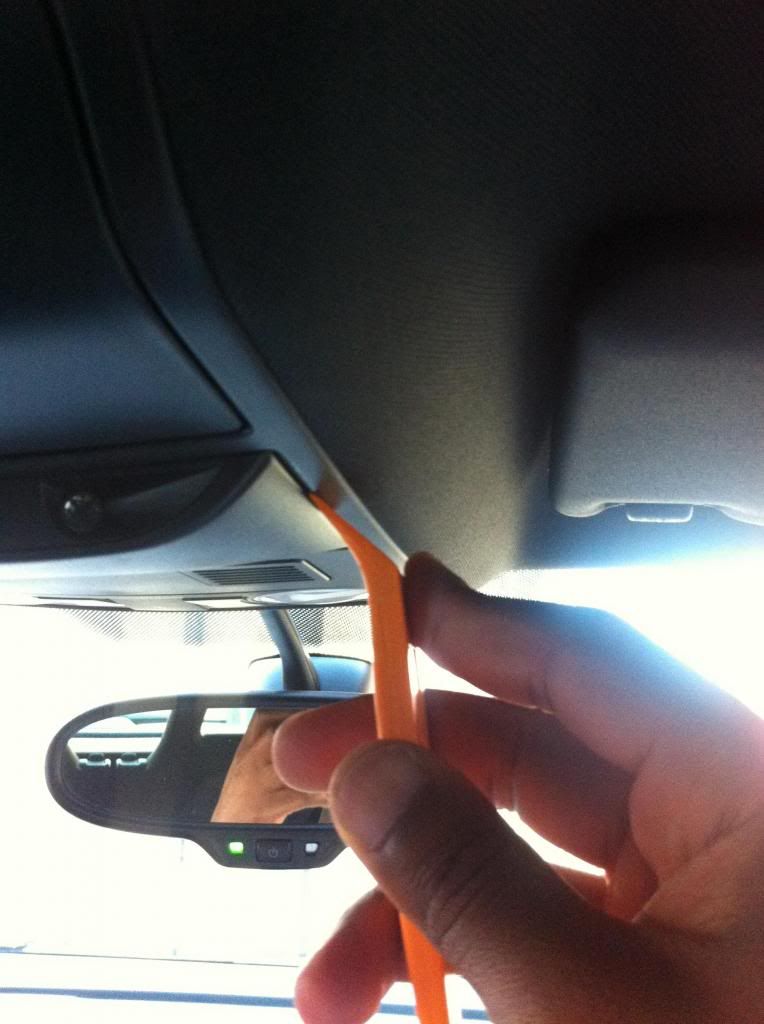
Once you have got off this panel and it’s hanging on its hinges, you will discover two torx screws which you need to remove.
Once these screws are out, gently coax the panel off the headliner. See the pictures below for what to expect.
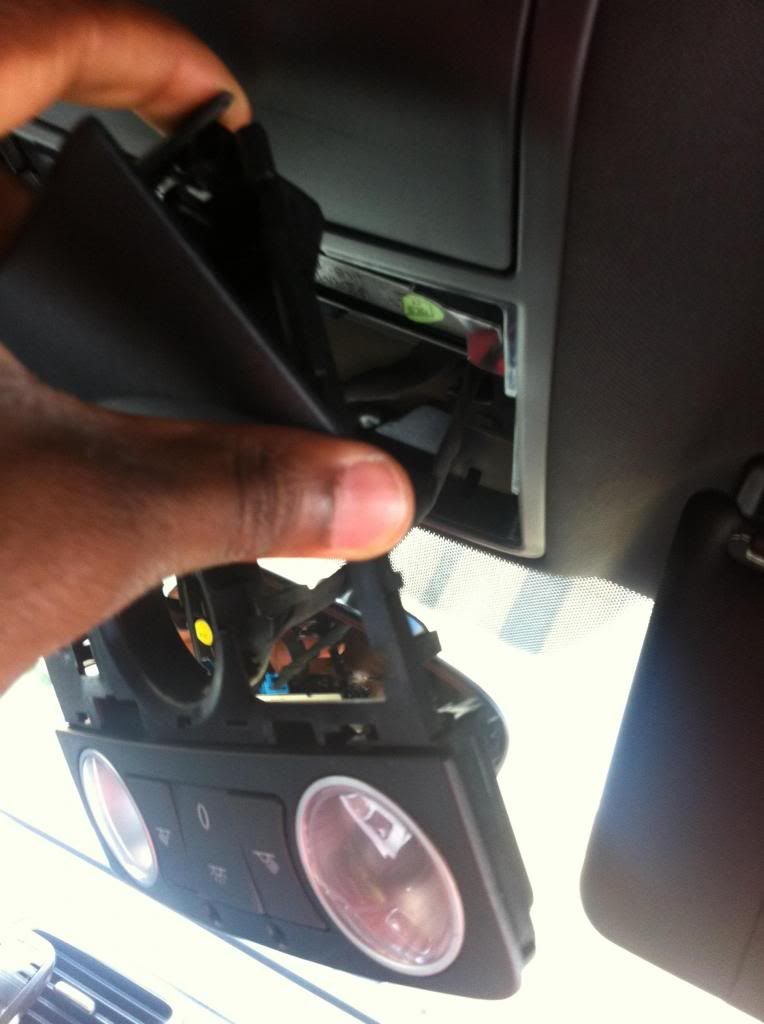
The picture below shows the console out and hanging on its wires. To the left of the photo .i.e. the position of the mic grill closest to the passenger’s side, there should be a black foam block in the space the VW OEM mic goes. I have already taken mine out, so it’s not in the picture.
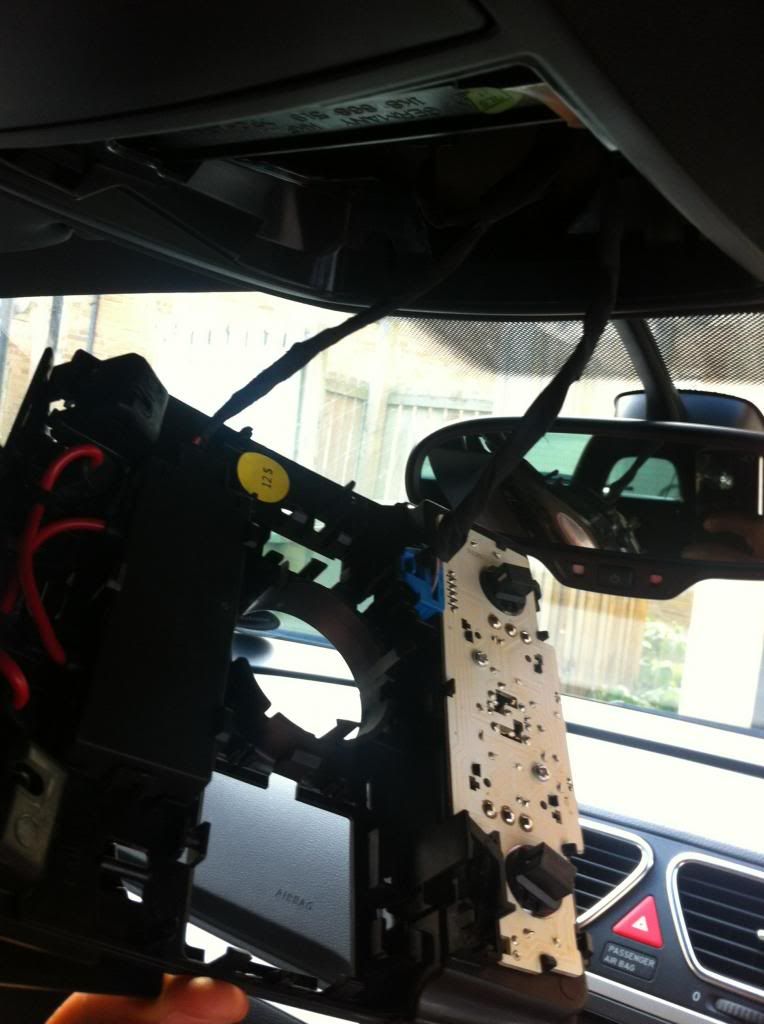
Once this is out, install the VW OEM mic in the space, it can only go in one way, so you cant install it wrong. You can just about see mine already placed in that space:
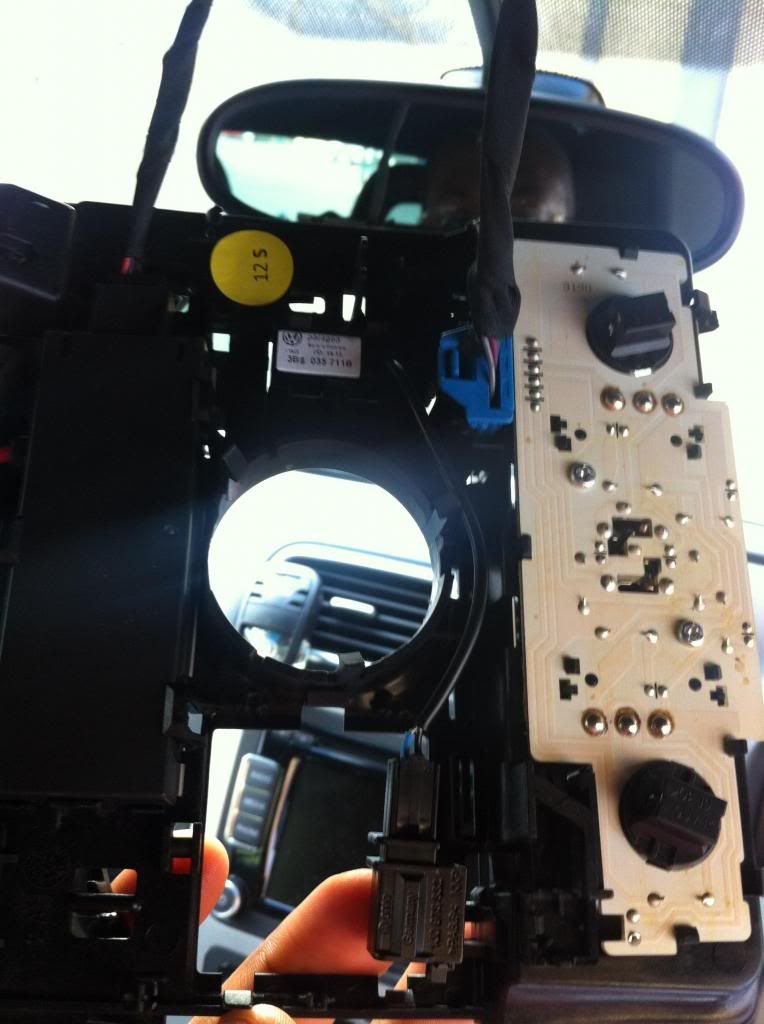
After you have done this, connect up the mic to its wire. No pictures for the next bit, as I did it really quickly.
Before you pass the other end of the mic wire through, go to the driver’s side sun visor vanity light and pry it off. I advise that you pry off the side closest to the door, because it isn’t attached to a wire (next picture will make this clear).
Once that is off, let it dangle.
Return to the Map console light area, and pass the other end of the wire through. You don’t need the coat hangar at this point because there is a lot of room. Just push in the cable and wiggle it round in the direction of the light till it pops out:
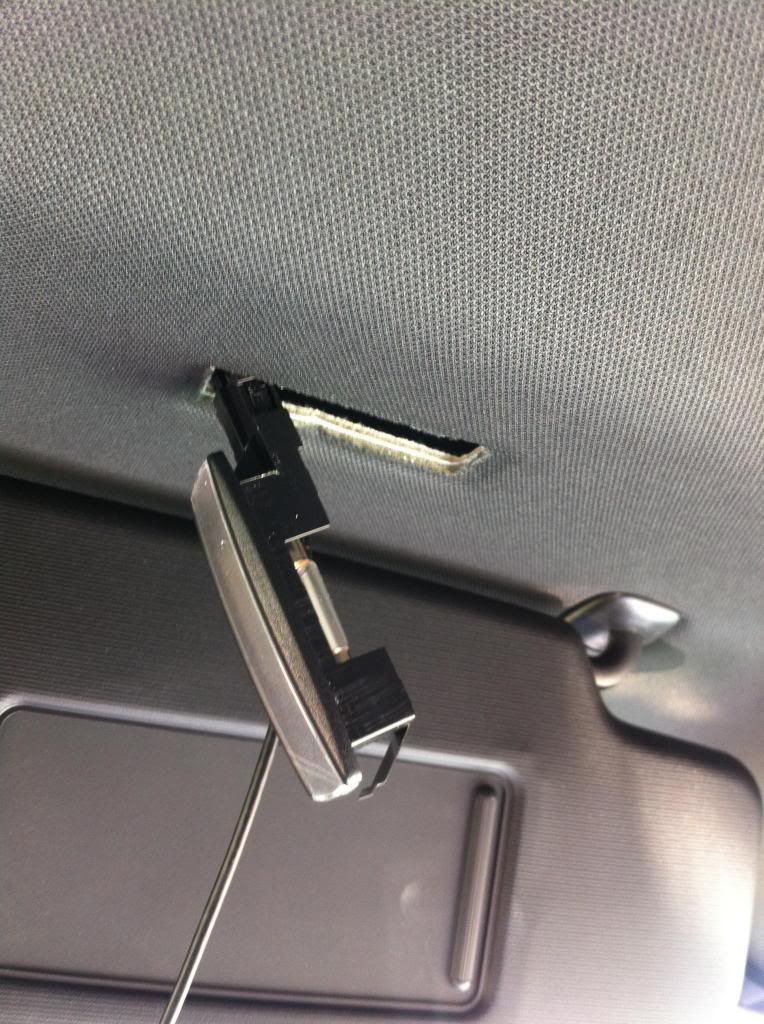
Drag the length of the wire through the light area, making sure there is no excess in the map light area. Replace the map console panels and make sure everything fits.
Now, once that is out the way, you need to find a way to get the cable back out through the sun visor area, and down the A Pillar section.
There are a few ways to do this, but this is what I did:
I pried down the rooflining at the A pillar area. You have to peel the door seal back to get proper access; there is some wiring insulation (or something of that sort) in the way – don’t worry about this like I did.
Get your coat hanger, straighten it out, and fit it just above the stuff at the door seal, get it in the roof lining and direct it towards the sun visor area
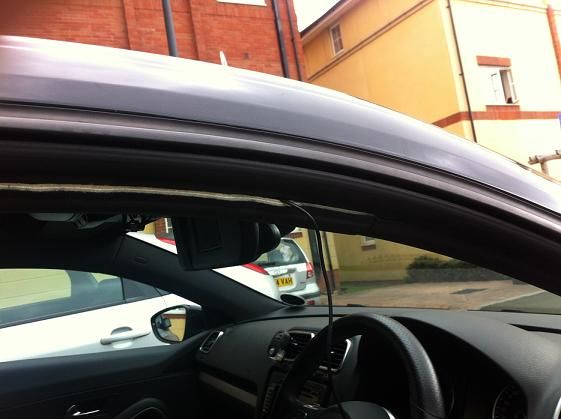
When you see your hanger poking through the vanity light hole, use the insulation tape to attach the mic cable plug to it. Don’t go crazy with the tape, but make sure it is VERY secure. I used the tape to attached the body of the cable (not the plug) to the coat hanger, so it had less chance of falling off while you pulled it through
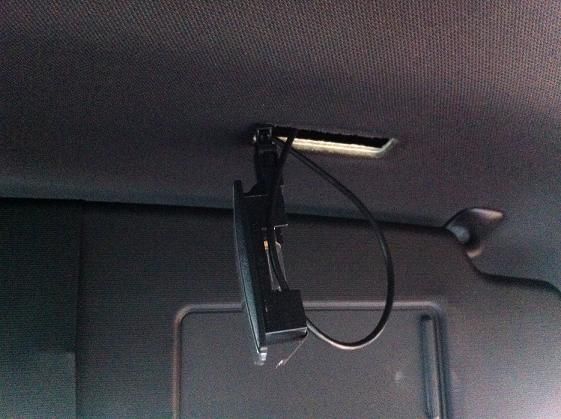
Once you get the cable out through the gap in the roof lining, you can then channel it down the A Pillar.
See the roccopedia fiscon installation guide for how to remove the A-Pillar.
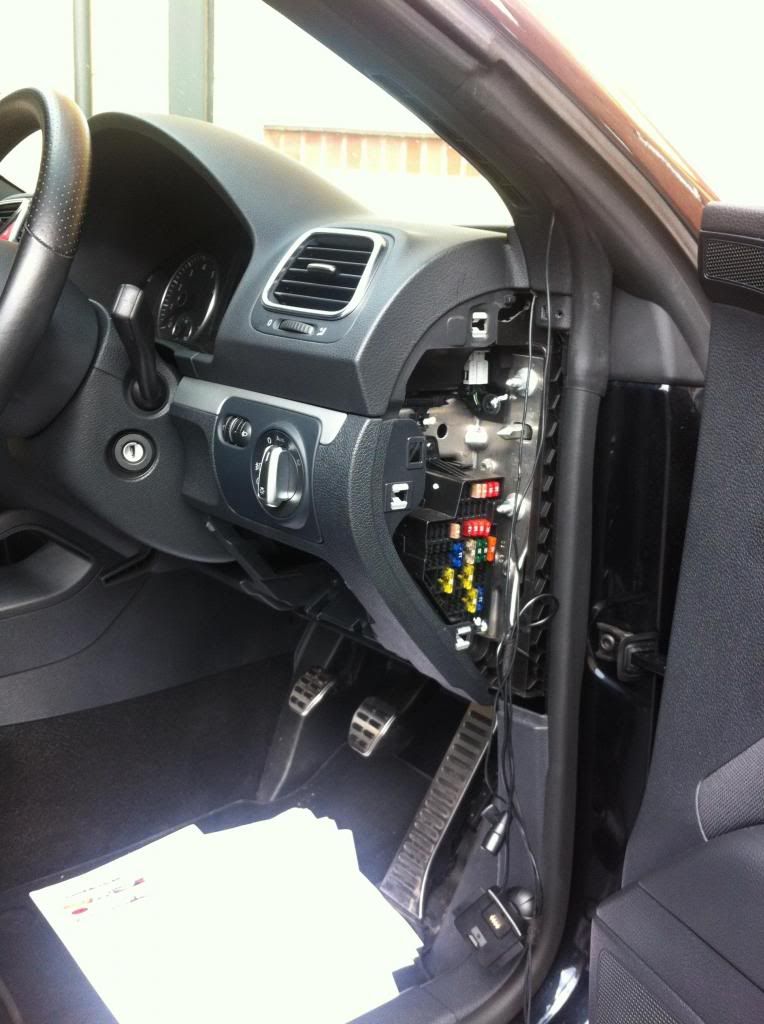
OR better still, tuck the wire between the A Pillar and the door seal and channel it down to the fuse box area:
