Re: Victor
Posted: Fri Jun 05, 2015 11:44 pm
I have a serious crush on Victor [emoji4]
Sent from my iPhone using Tapatalk
Sent from my iPhone using Tapatalk
A discussion forum for everything about the MkIII Volkswagen Scirocco and Scirocco R
http://sciroccocentral.co.uk/forum/
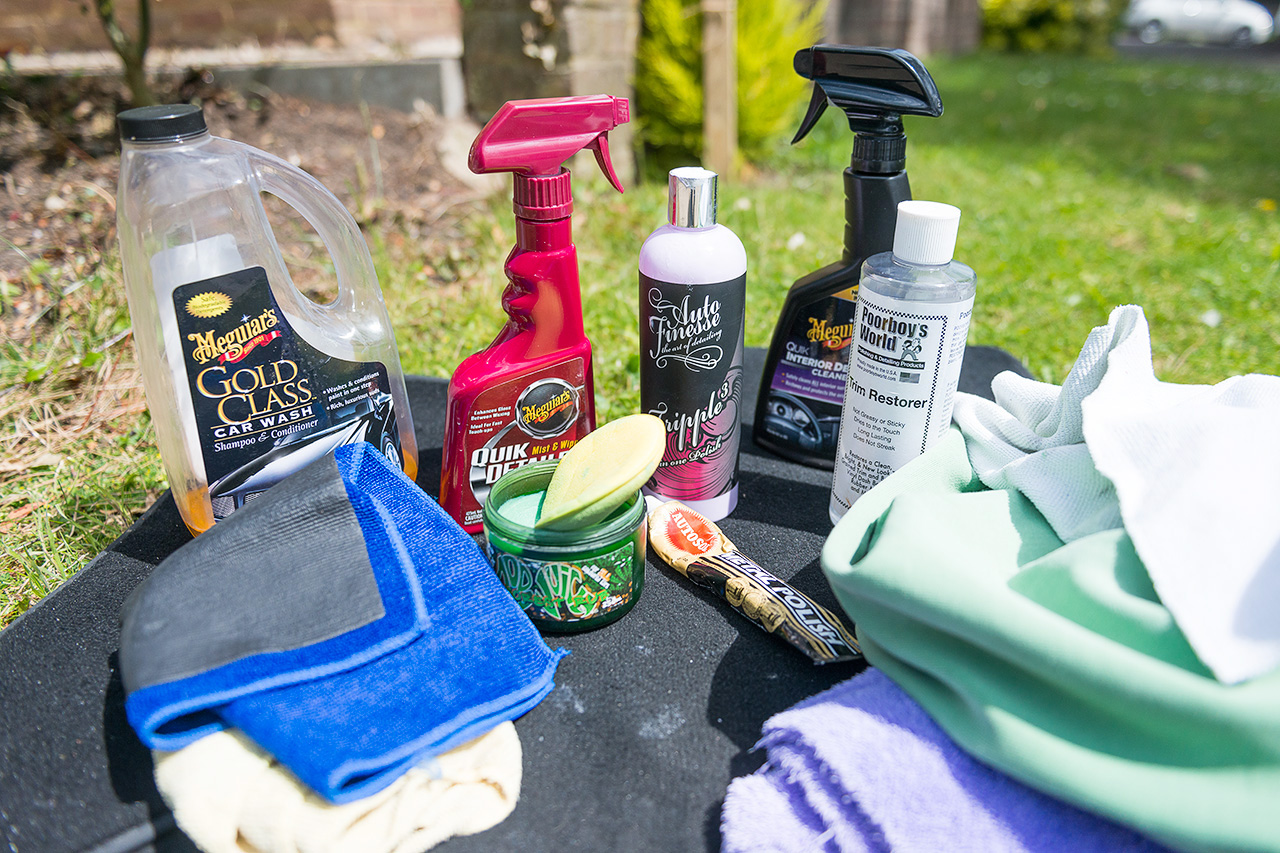
Harder wax than dodo juice? It's pretty much as hard as wax gets isn't it?easyrider wrote:my 2 bucket / quick clean kit. need a harder wax.
Dodo juice offer soft and hard waxJojreynolds wrote:Harder wax than dodo juice? It's pretty much as hard as wax gets isn't it?easyrider wrote:my 2 bucket / quick clean kit. need a harder wax.
Instagram: James.reynolds
Well on that note may I take this opportunity to recommend dodo juices harder wax. Not only is it really easy to work with the end product is also second to none in my opinion. [emoji2]philjay92 wrote:Dodo juice offer soft and hard waxJojreynolds wrote:Harder wax than dodo juice? It's pretty much as hard as wax gets isn't it?easyrider wrote:my 2 bucket / quick clean kit. need a harder wax.
Instagram: James.reynolds
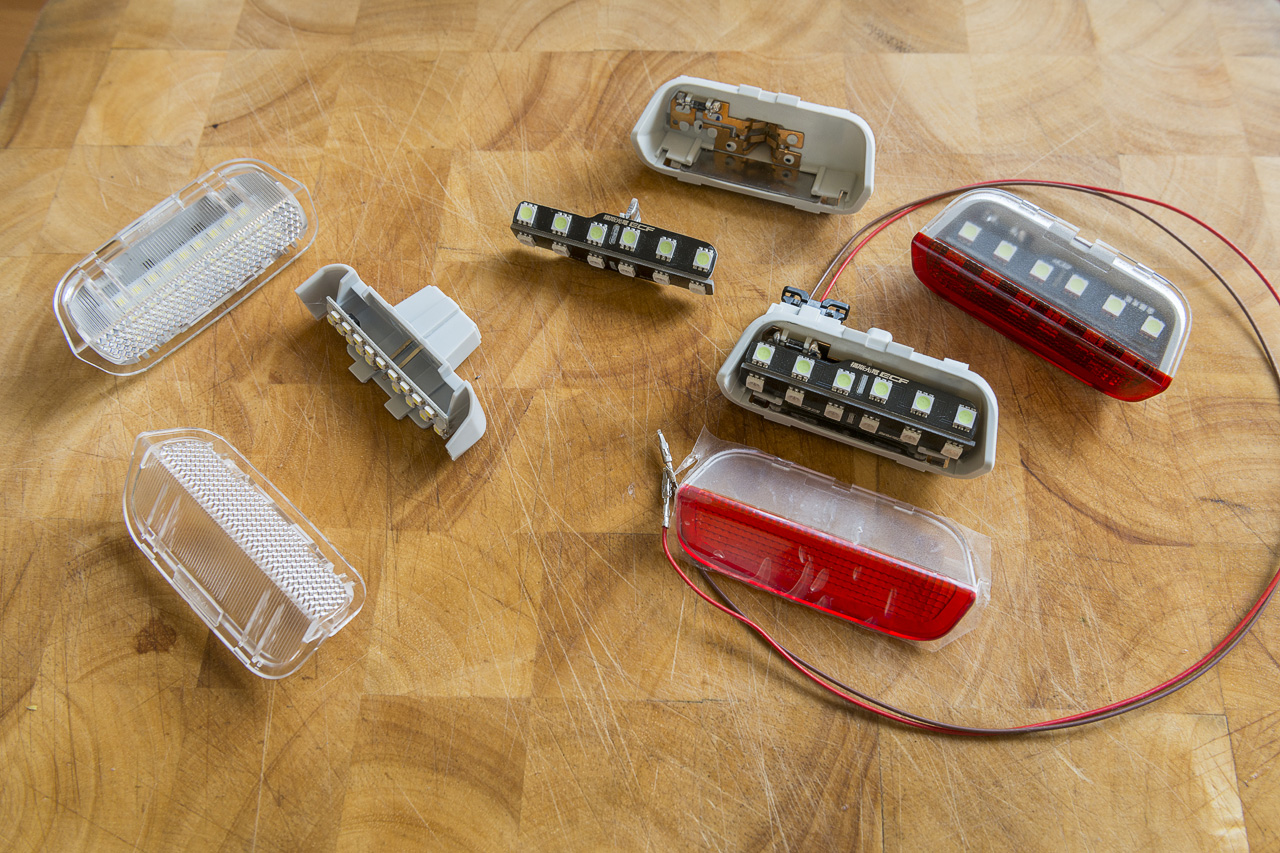

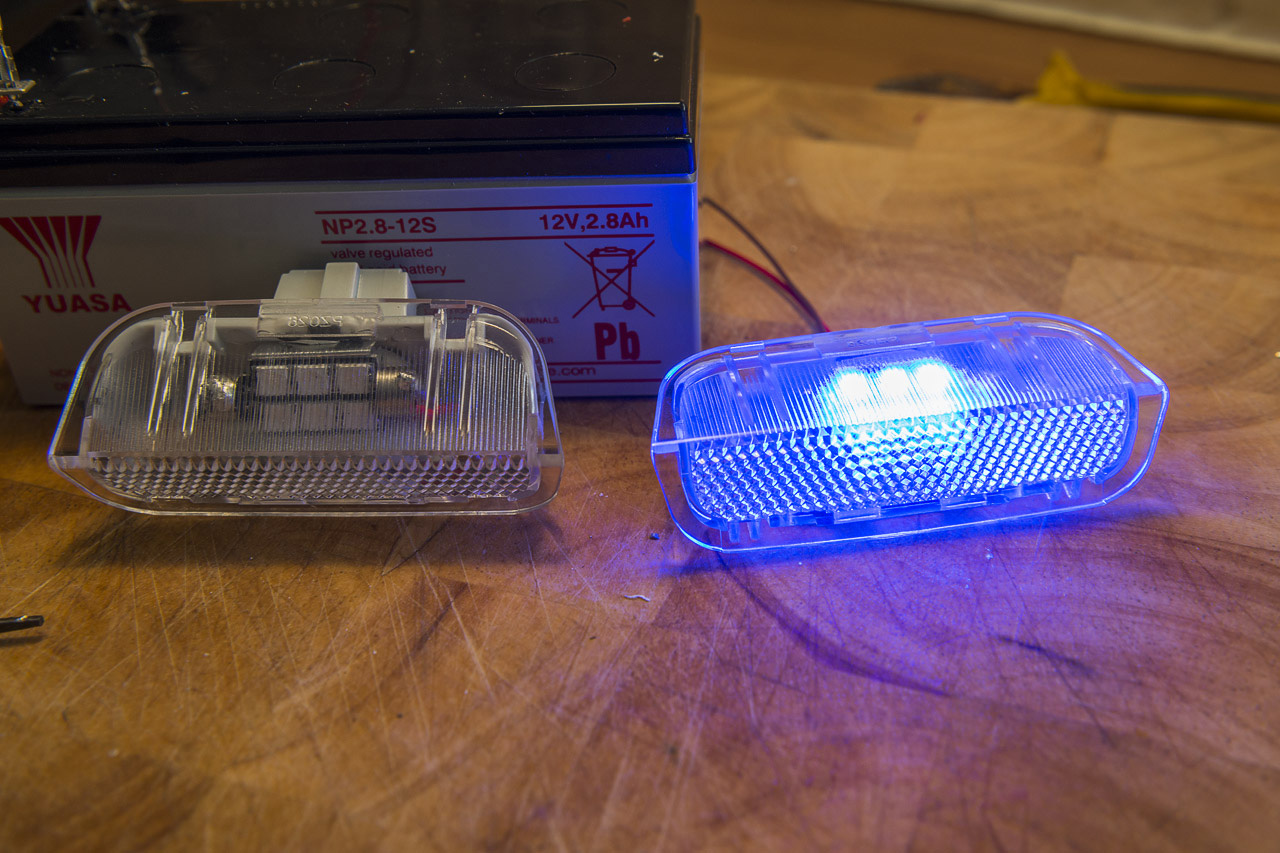
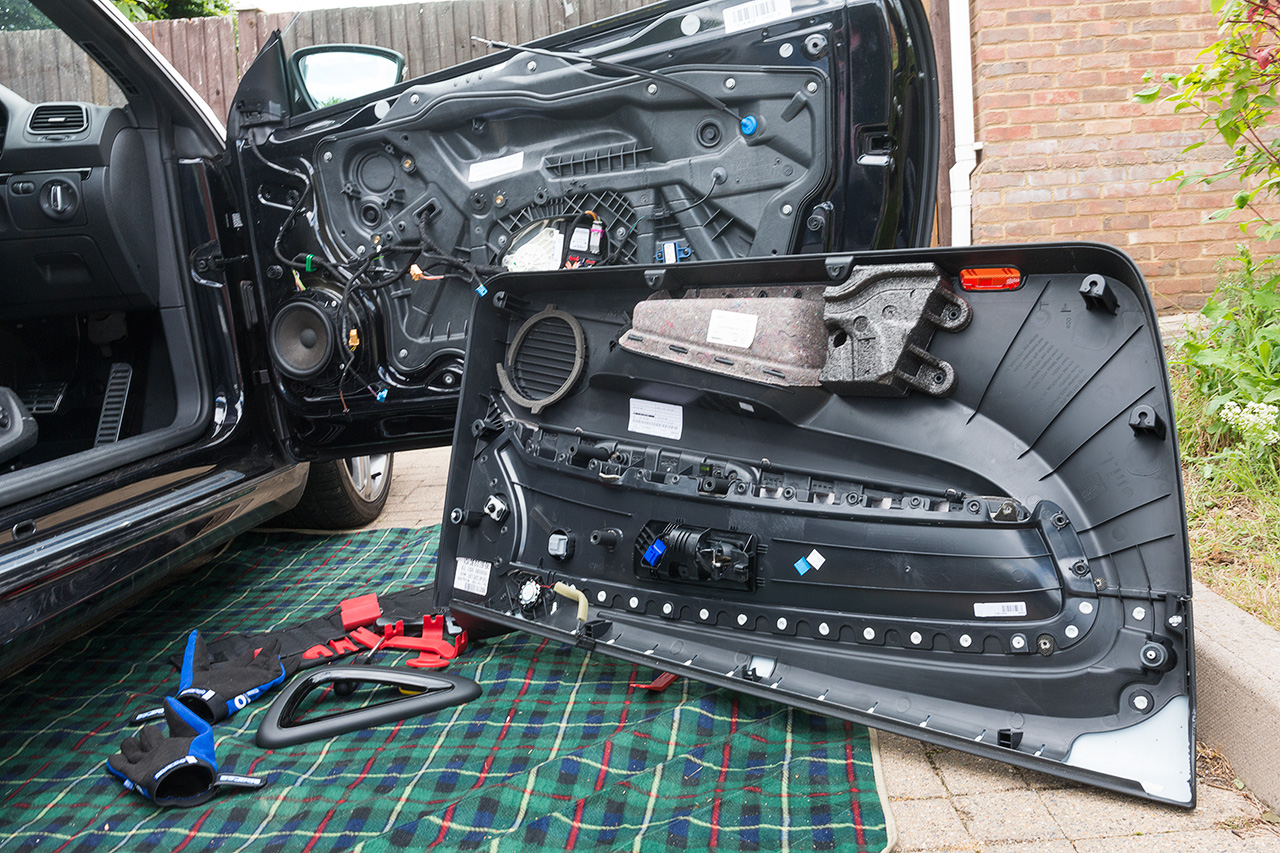
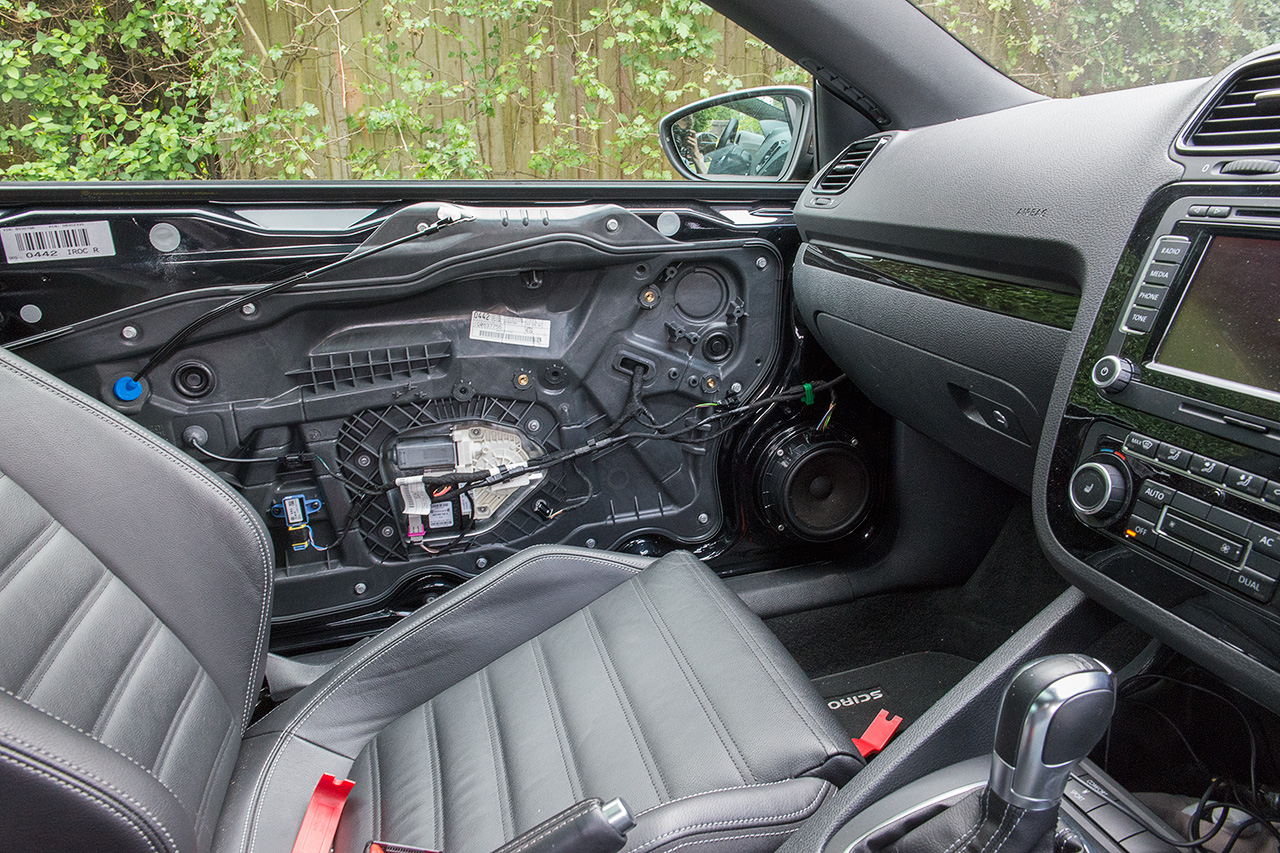
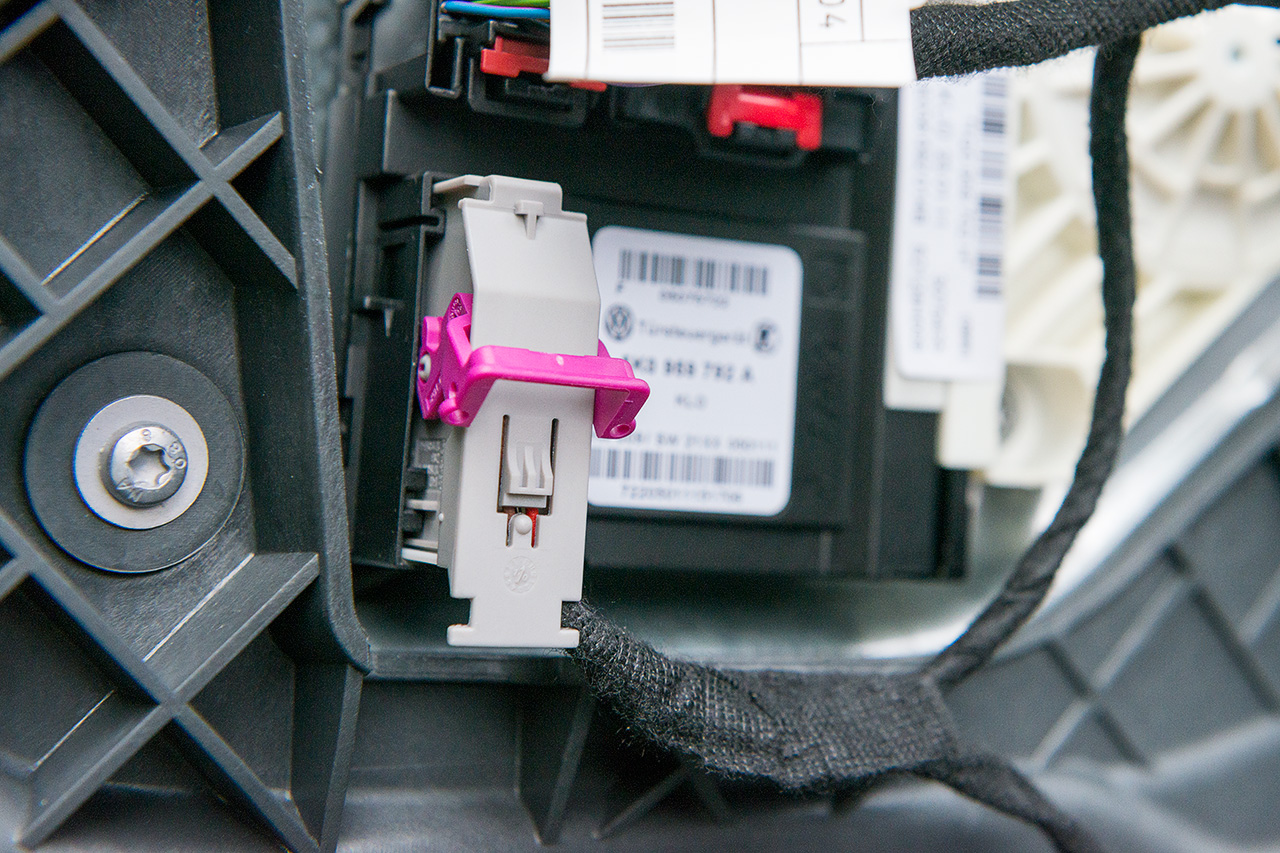

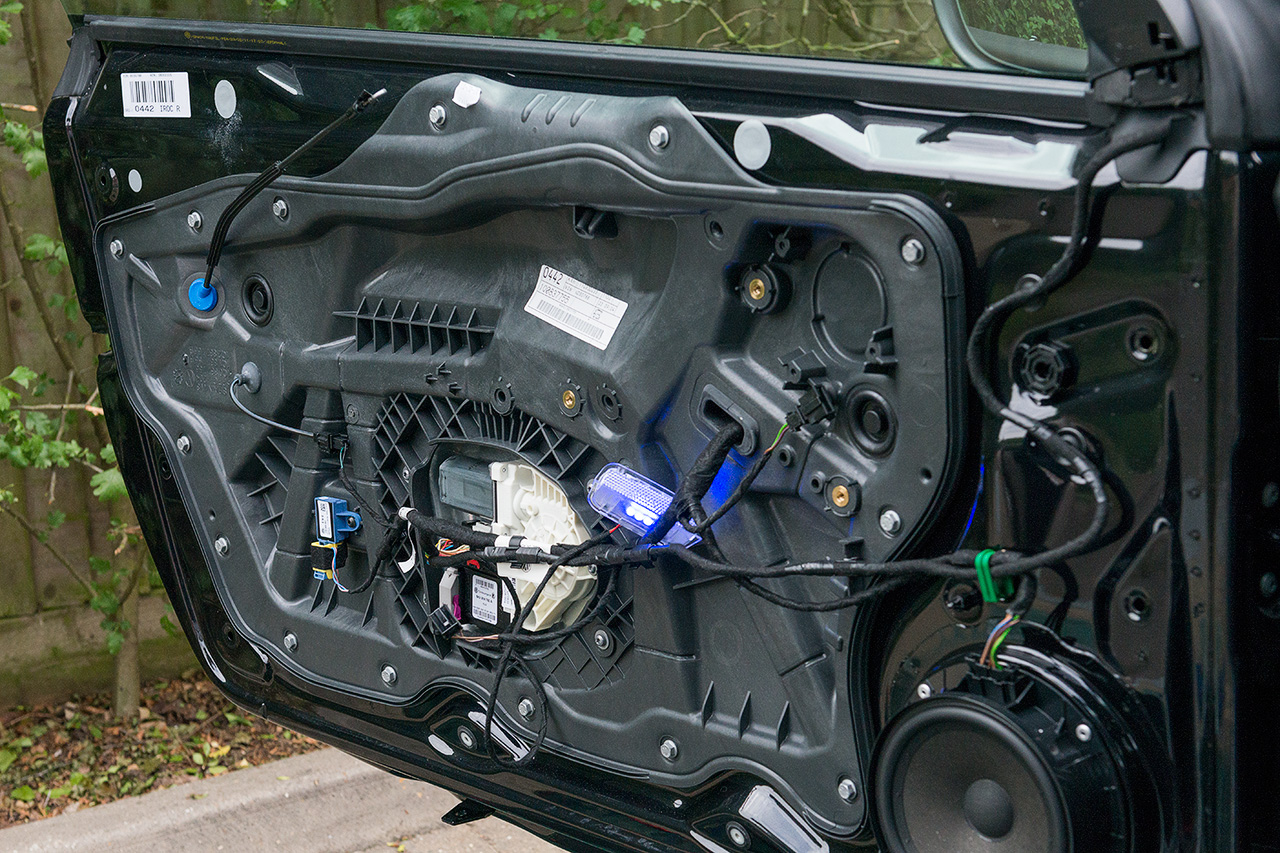
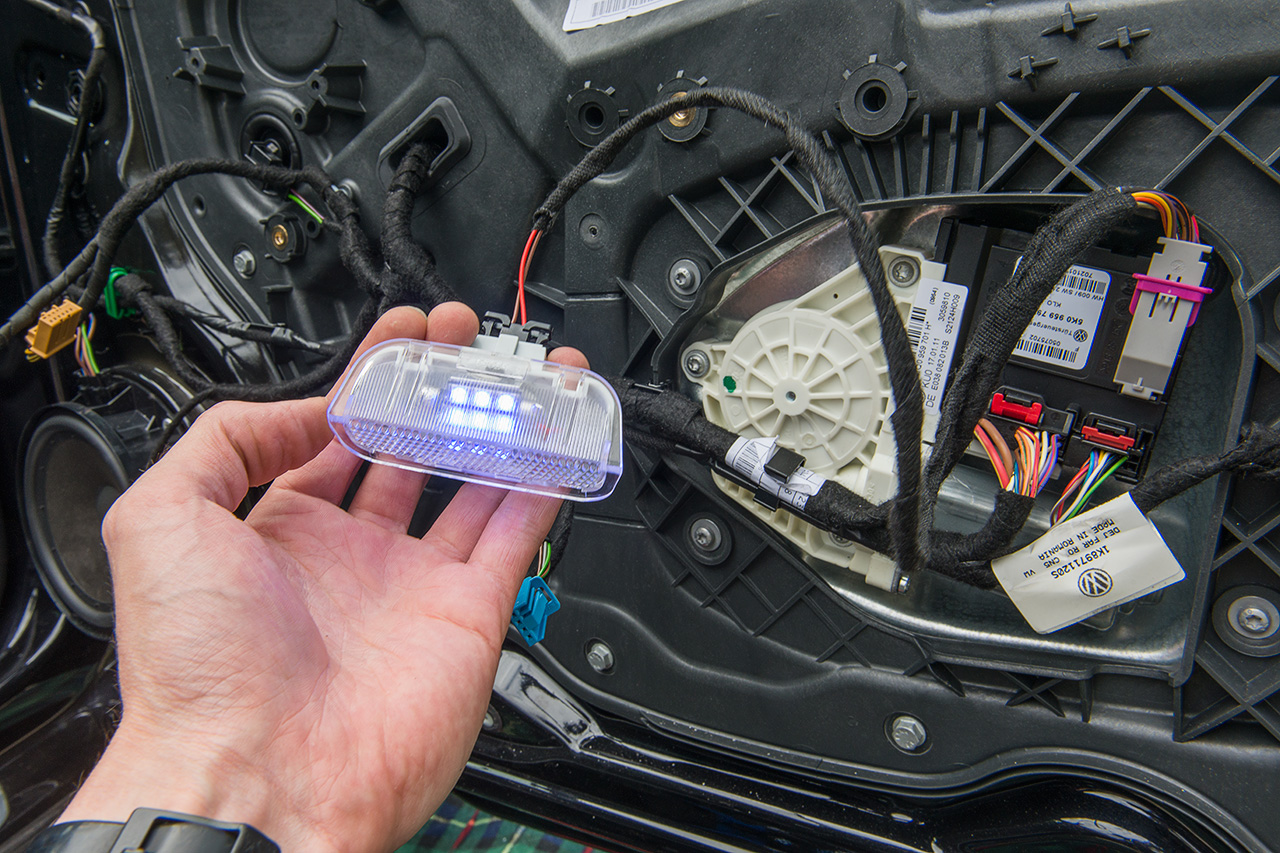
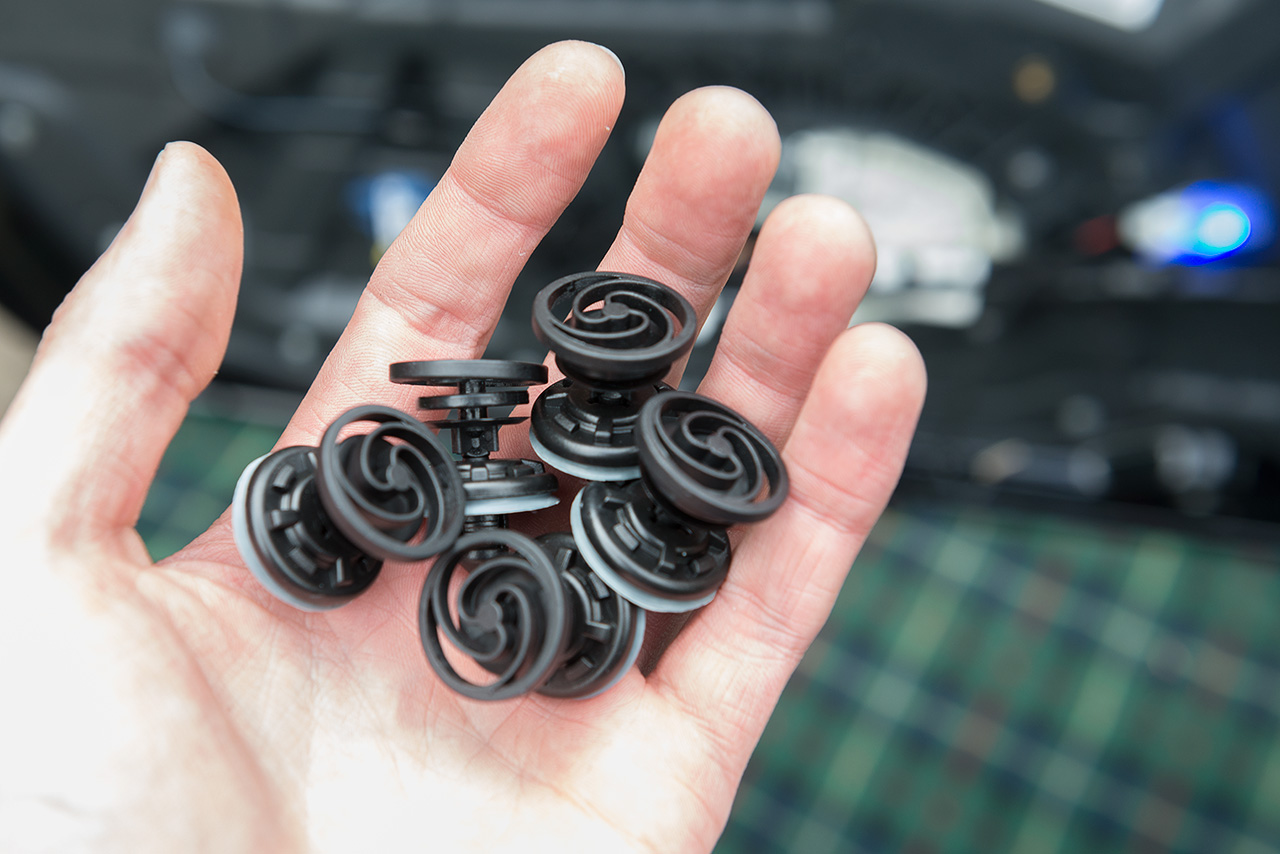
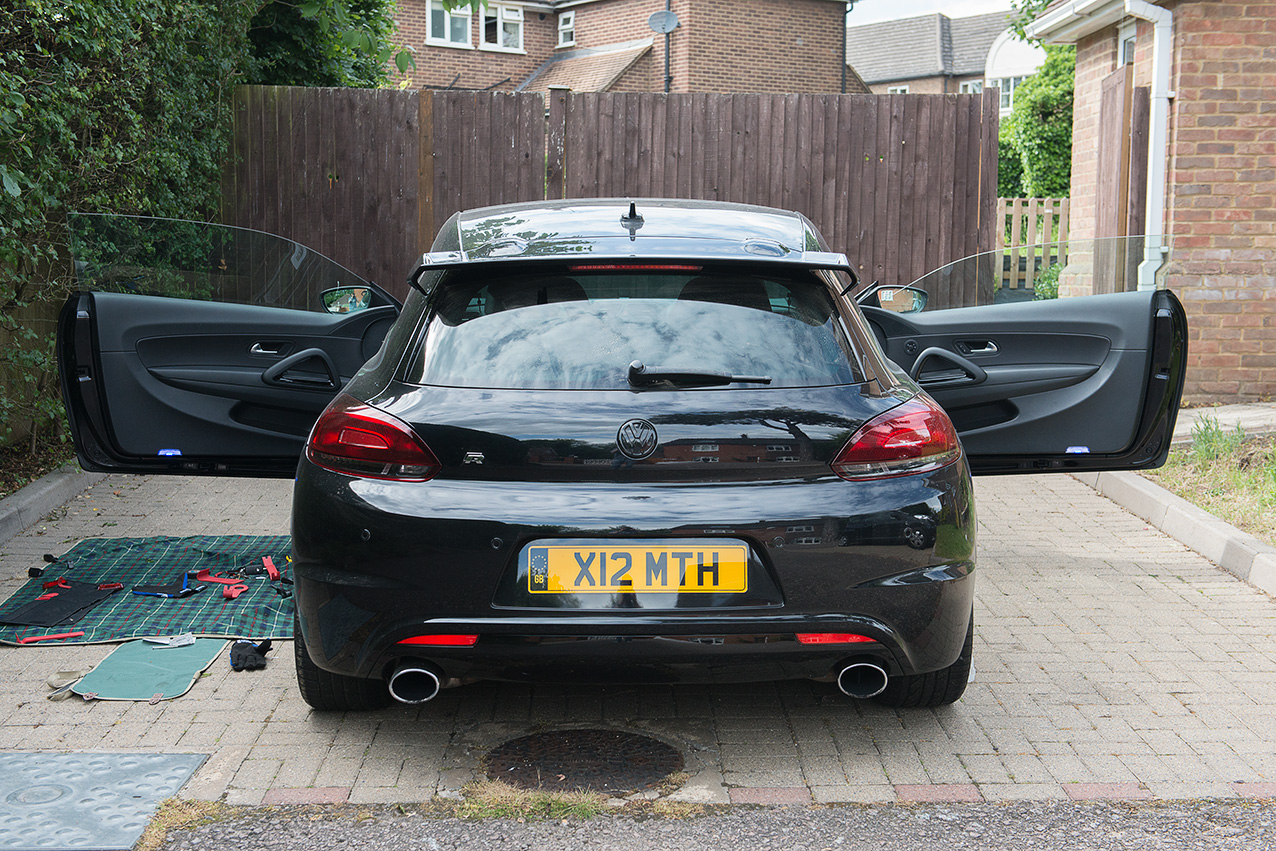
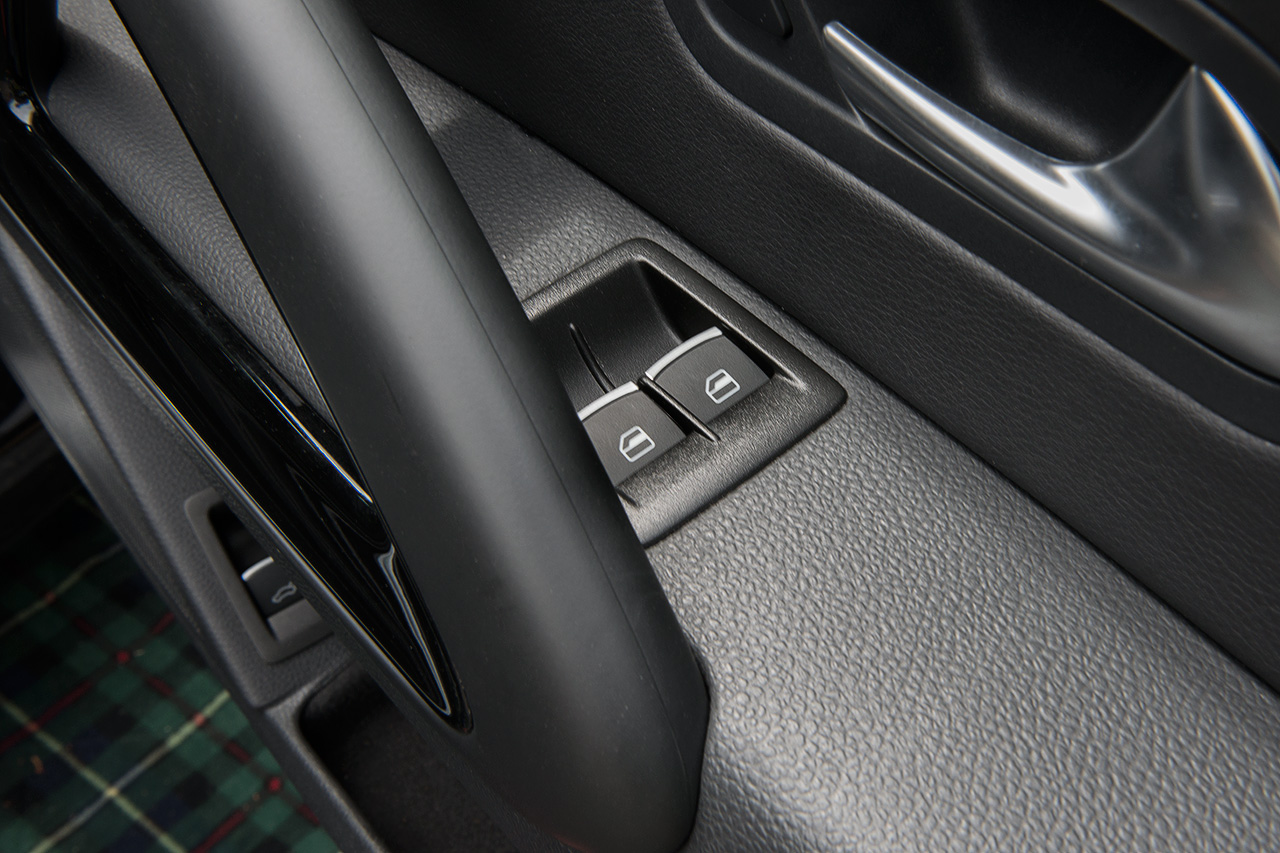
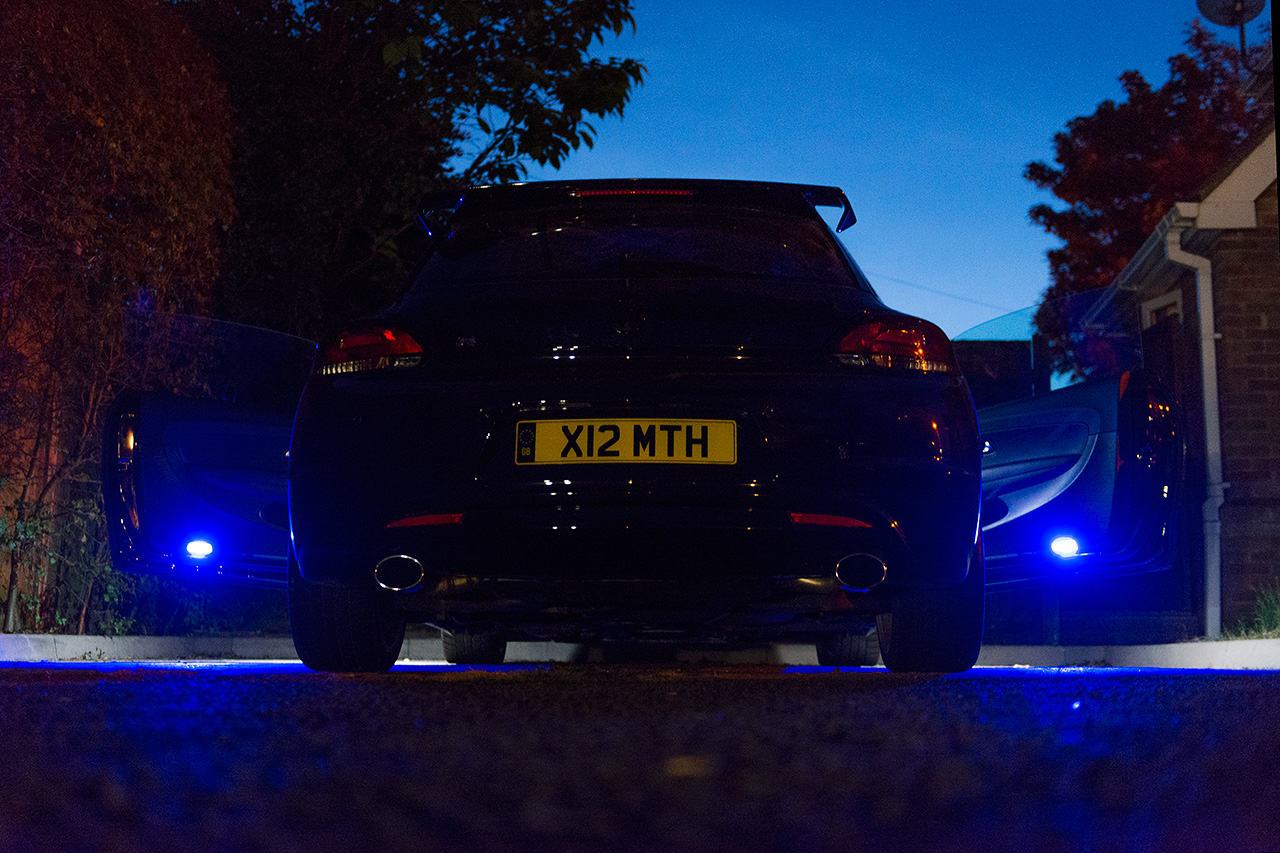
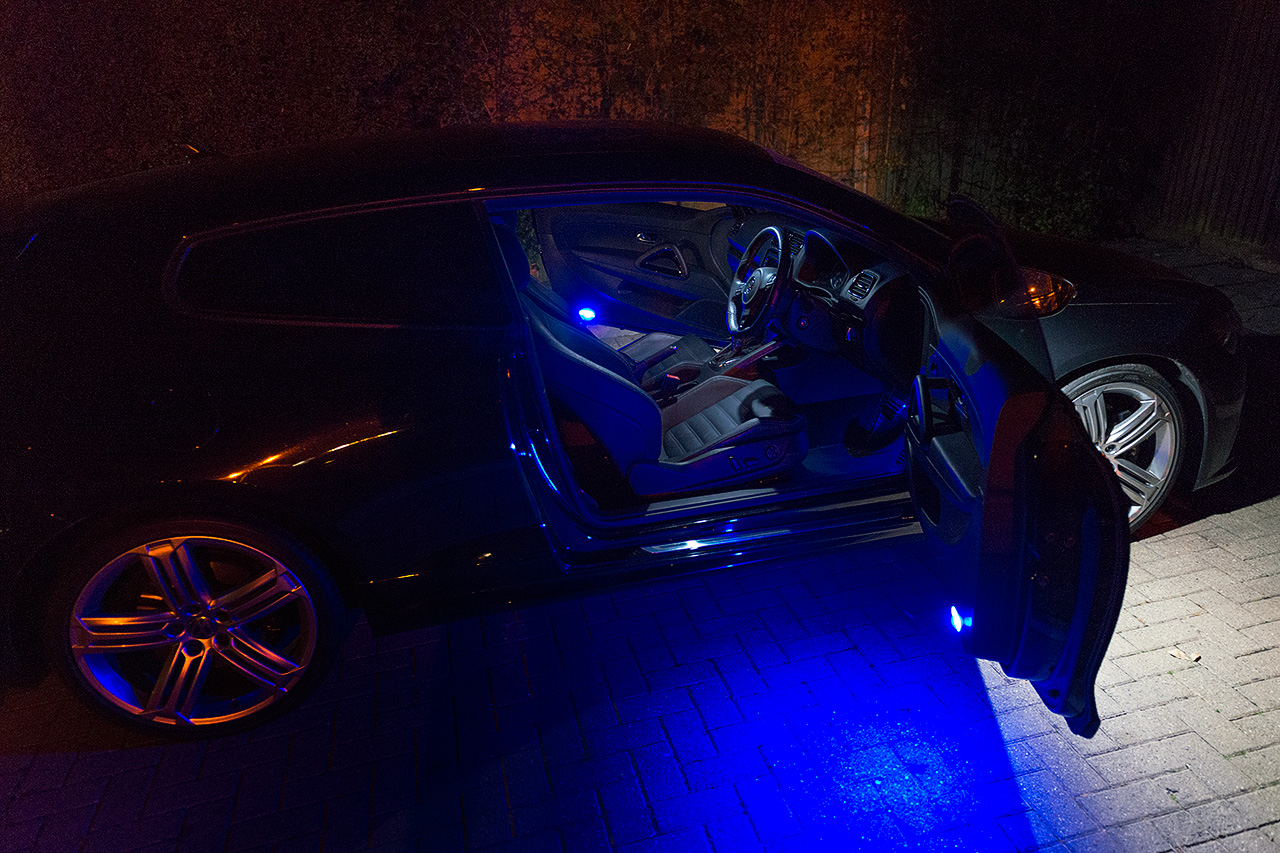
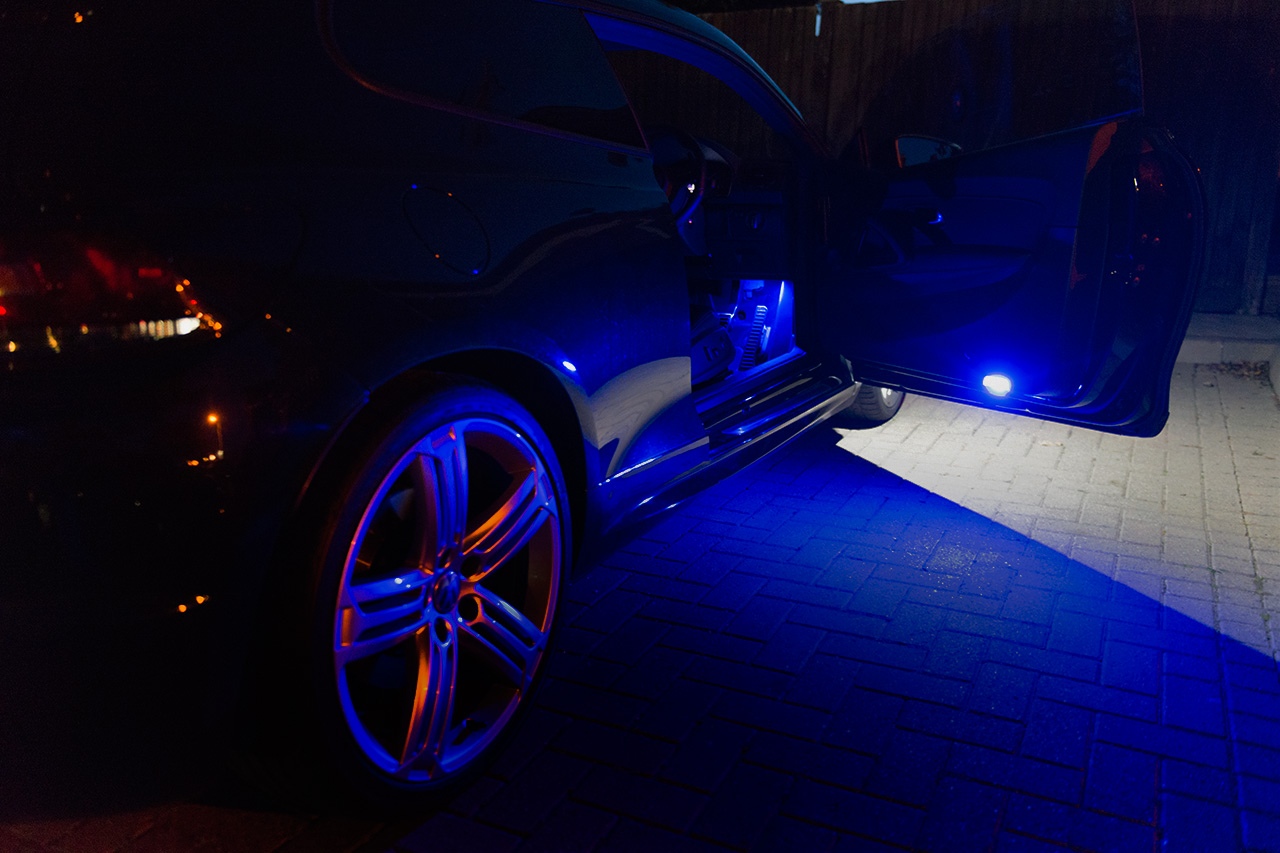
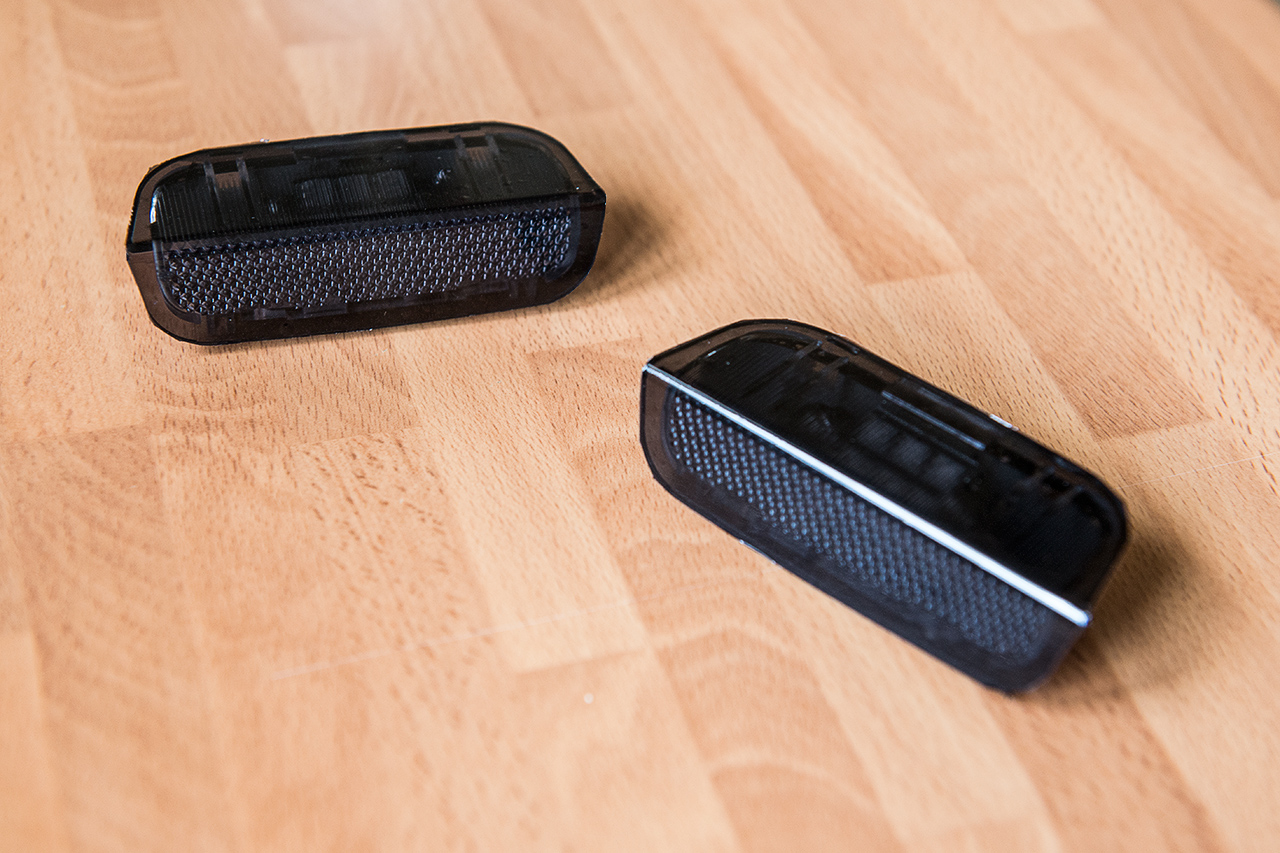
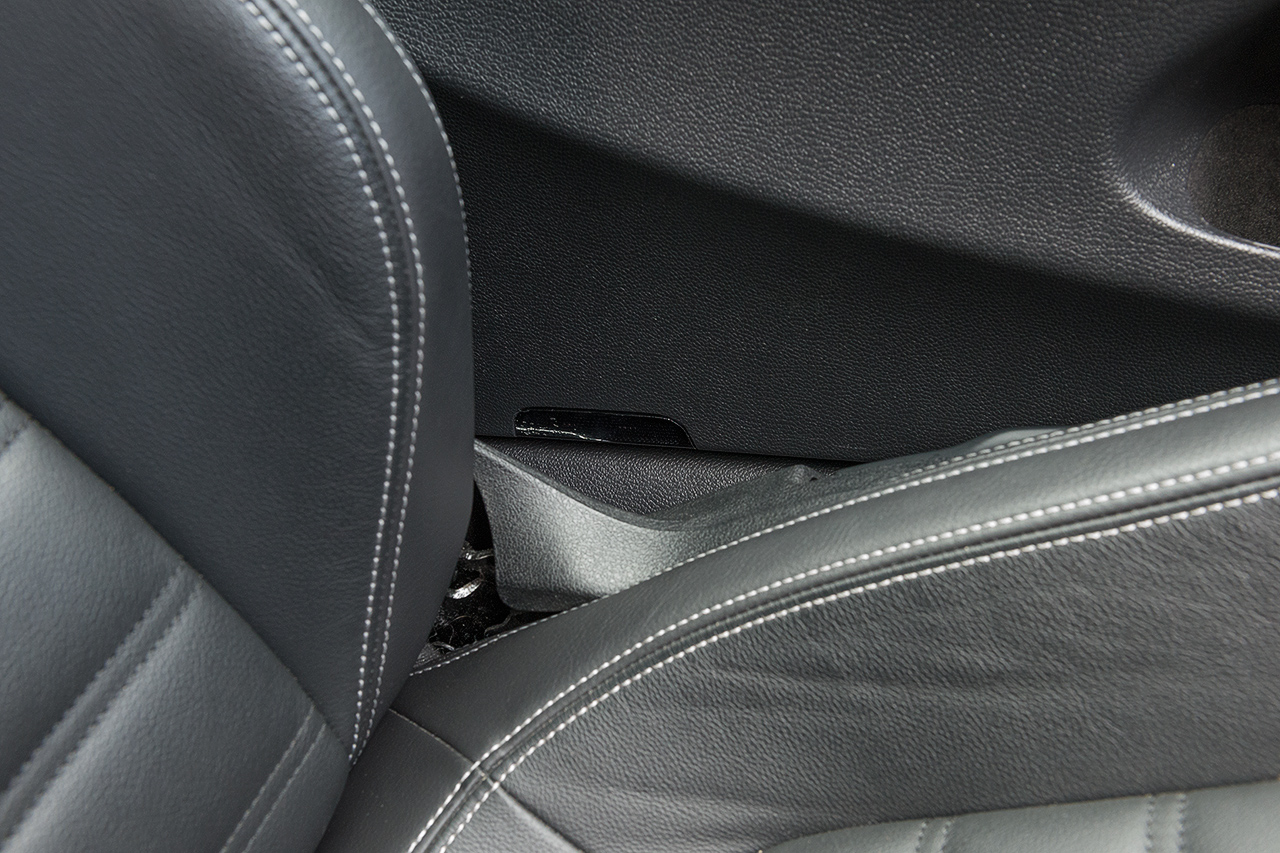
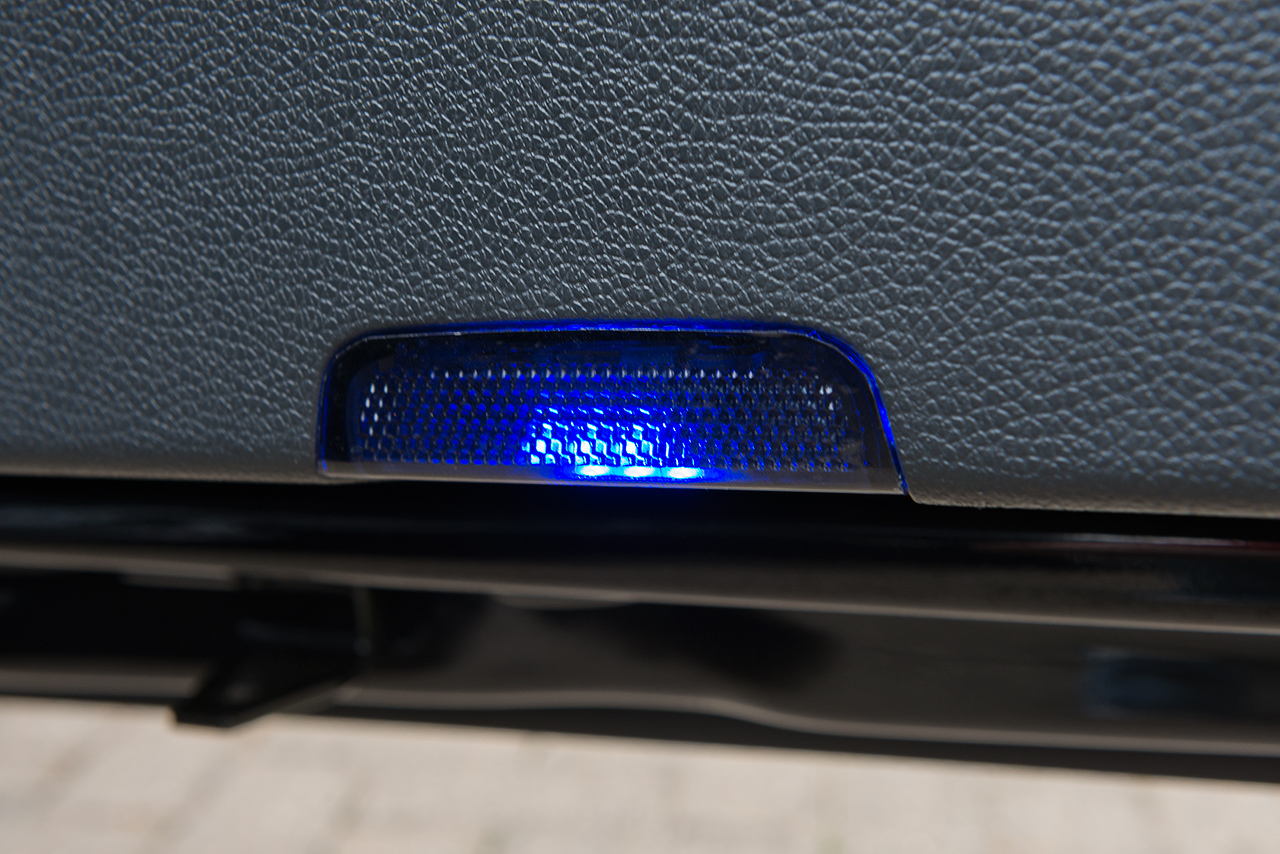
nice one, really not that hard but yeah ripping door cards off is never pleasant!Albrown59 wrote:Great write up for the puddle lights mate, bet they look awesome! Wish I had the balls to try it ha!