Page 7 of 12

Re: Scirocco CR170

Posted: Tue Dec 01, 2015 11:23 am
by xjay1337
whiteDevil_170 wrote:Love the steering wheel!

Thanks mate haha, it's nice to hold :) very fluffy.
JamesE wrote:Just read this, brilliant absolutely brilliant mate lot of work gone in to it!


Sent from my iPhone using Tapatalk
Cheers mate :) thanks yeah has been a bit of a labour of love.
few bits to come over the next months, just been enjoying it lately.

I serviced it the other day, Ben popped over to help :)

Image

Re: Scirocco CR170 "Project Racek0r"

Posted: Tue Dec 15, 2015 11:25 am
by xjay1337
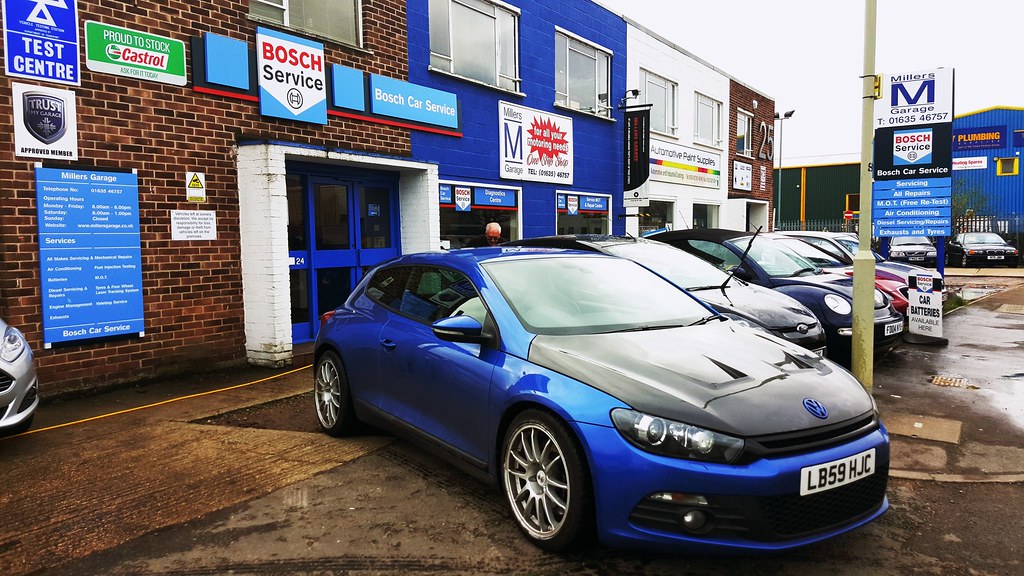
Had it MOT'd yesterday.
All fine :happy2:

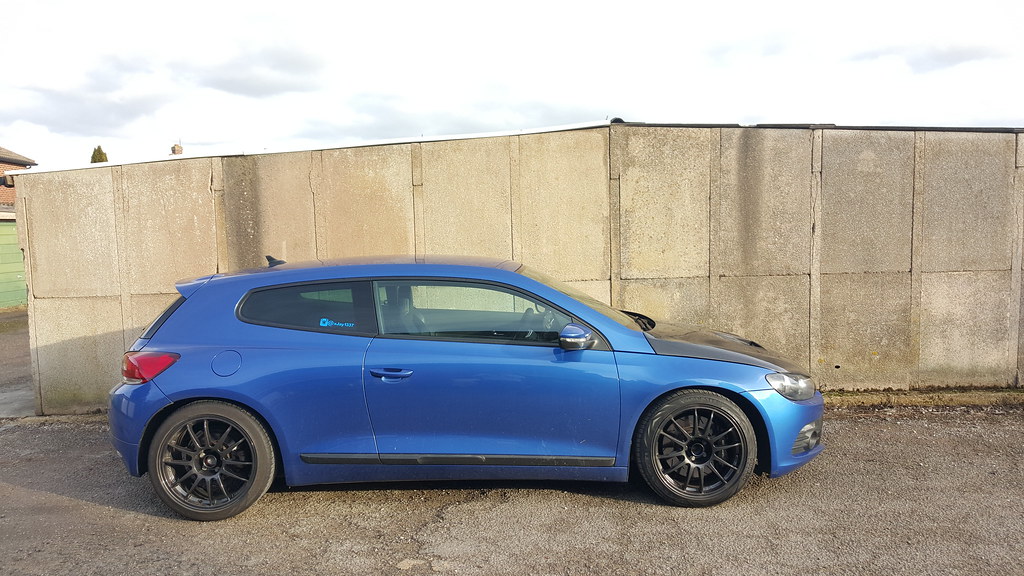
Also spot the difference!


Image2015-12-15_10-46-55 by Fat Bear Photography, on Flickr

in addition I hit 150k a few weeks back.

Image

Re: Scirocco CR170 "Project Racek0r"

Posted: Tue Dec 15, 2015 12:49 pm
by whiteDevil_170
xjay1337 wrote:Had it MOT'd yesterday.
All fine :happy2:

Also spot the difference!


Image2015-12-15_10-46-55 by Fat Bear Photography, on Flickr

in addition I hit 150k a few weeks back.

Image

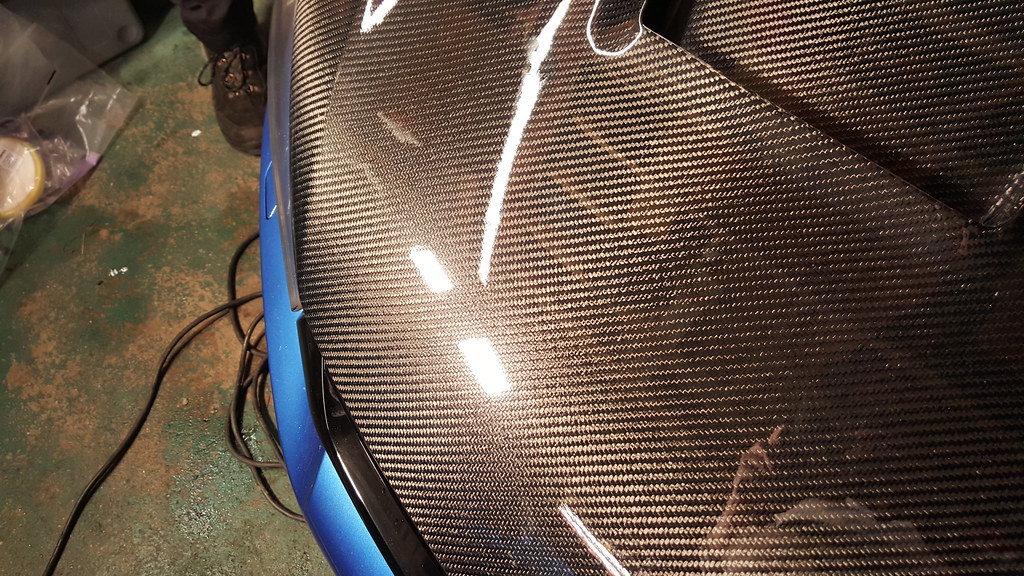
You have a black bonnet? :lol:

New wheels? Looks good. Although still need to get that bonnet sprayed.

Re: Scirocco CR170 "Project Racek0r"

Posted: Tue Dec 15, 2015 2:09 pm
by xjay1337
Ooooooo aren't you funny!!!!!

I like the carbon!!!!!

Maybe when I get the rest of the car sorted out with the GT24 body bits.
Hopefully secured an R bumper too, just need to wait until February. Boo.

Re: Scirocco CR170 "Project Racek0r"

Posted: Tue Dec 15, 2015 10:31 pm
by wigit
I spy with my eye a set of silver OZs

Re: Scirocco CR170 "Project Racek0r"

Posted: Tue Dec 15, 2015 10:42 pm
by jrdragboy
This is awesome!

Re: Scirocco CR170 "Project Racek0r"

Posted: Wed Dec 16, 2015 1:14 pm
by xjay1337
wigit wrote:I spy with my eye a set of silver OZs
yup!

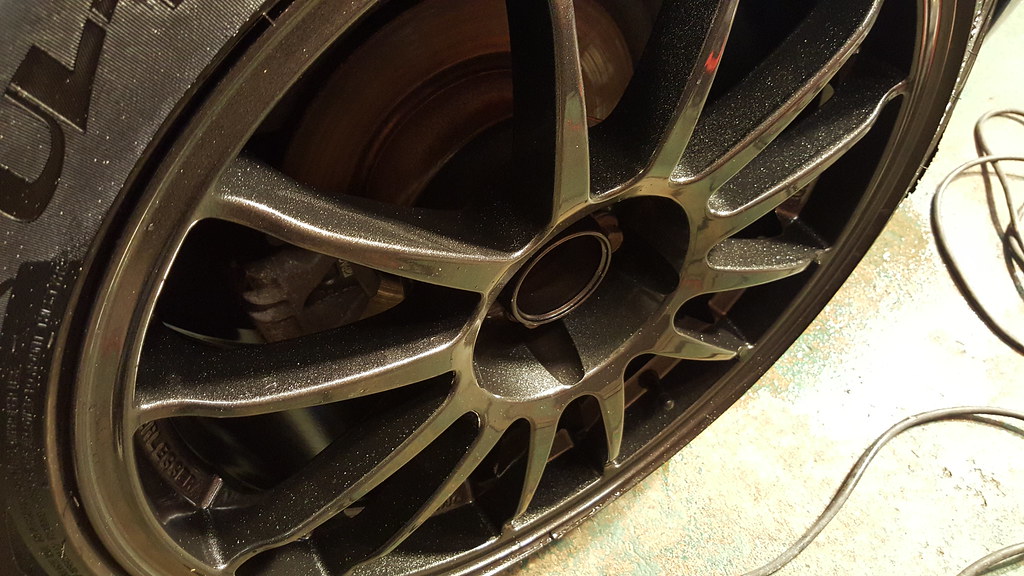
They are OZ Ultraleggeras.
Bit tatty but nothing a refurb can't sort. Will have that done in a month or two.
Getting them done in anthracite, only colour to go really.

5x114.3
18x9 et43
Very light!
Need to change to 245/40 tyres which is good as pilot super sport are available in that size... :yes: :yes:
Swapped wheels with my mate as they are too wide for his S3 on the front but fine for me

Image

Re: Scirocco CR170 "Project Racek0r"

Posted: Wed Dec 16, 2015 1:14 pm
by xjay1337
jrdragboy wrote:This is awesome!
Cheers pal :yes: :yes:

Re: Scirocco CR170 "Project Racek0r"

Posted: Thu Dec 31, 2015 1:25 pm
by xjay1337
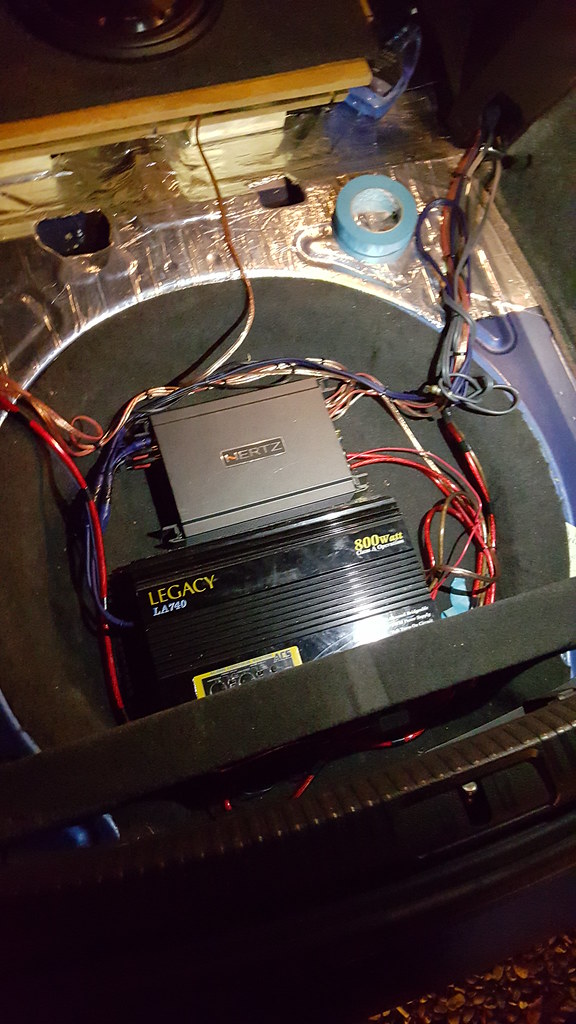
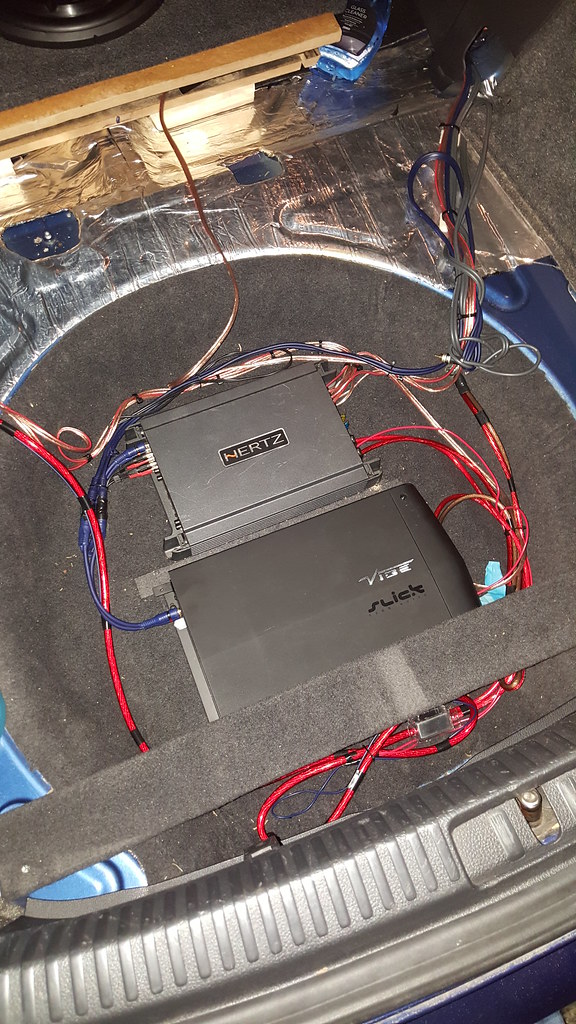
Got a new amp to power my sub as it was cutting out with the borrowed legacy amp


so we went from this.

Image20151223_192305 by Fat Bear Photography, on Flickr


to this :-)

Image20151223_195443 by Fat Bear Photography, on Flickr

Re: Scirocco CR170 "Project Racek0r"

Posted: Mon Jan 18, 2016 3:35 pm
by xjay1337
Sooo couple of things have gone on which are relatively exciting... I guess?

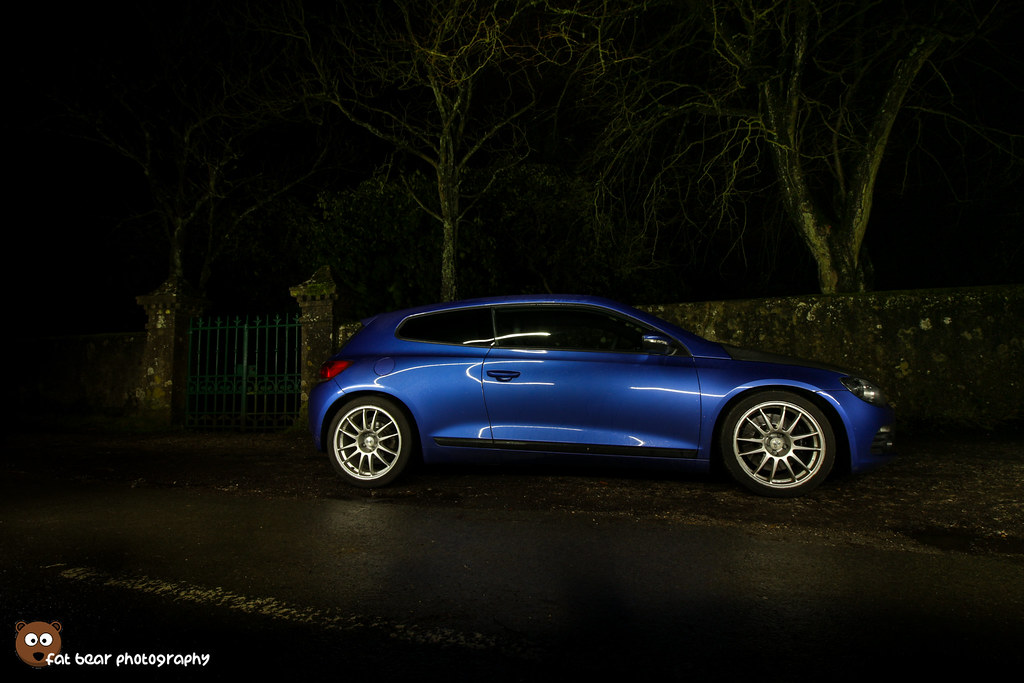
Got a nice photo :-)

ImageIMG_2903-2 by Fat Bear Photography, on Flickr

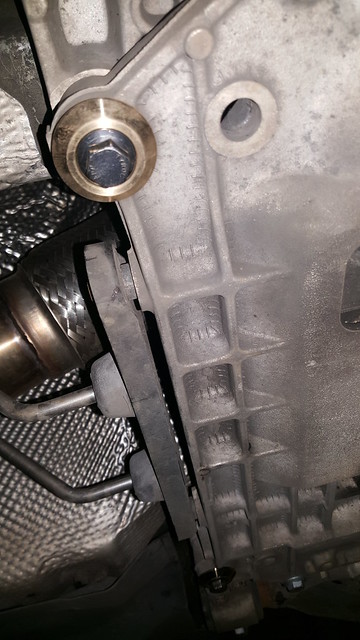
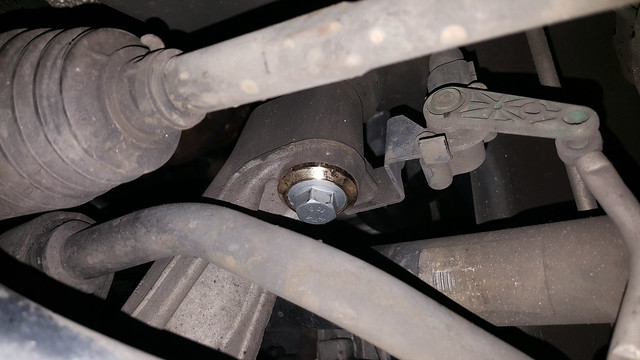
In addition to this with the help of a couple of mates we tried to do the rear arm bushes and replace them with Powerflex Polyurethane bushes. However the bolt was completely seized and we could not get it out for love nor money. So I'm going to buy a new bolt so we can cut it out and go again. When we do it again we are going to do a carbon clean.

We did manage to fit the Tyrolsport Deadset kit as well as new bolts all around and that seems to have cured the REALLY annoying clunks and subframe shifting I was getting.

Image20160113_212007 by Fat Bear Photography, on Flickr

Image20160113_212049 by Fat Bear Photography, on Flickr

Went to the Autosport International Show on Saturday and bagged myself the following at the DemonTweeks stand.

- Schroth Clubsport ASM 4 Point Harnesses x 2
- FIA Approved Mounting plates x 4
- FIA Approved eyelets x 4

Harnesses were supposed to be £140 + vat each, mounting plates were 5 quid or so and eyelets a couple of quid. With postage and VAT it would have all together been around £350.
Got the lot for £294 delivered, so that's really good deal!

Image

Except in black - I'll be painting the harness bar blue so didn't want to do too much.


And also on the Sunday I managed to get myself a cracking deal!

Image20160117_140010 by Fat Bear Photography, on Flickr

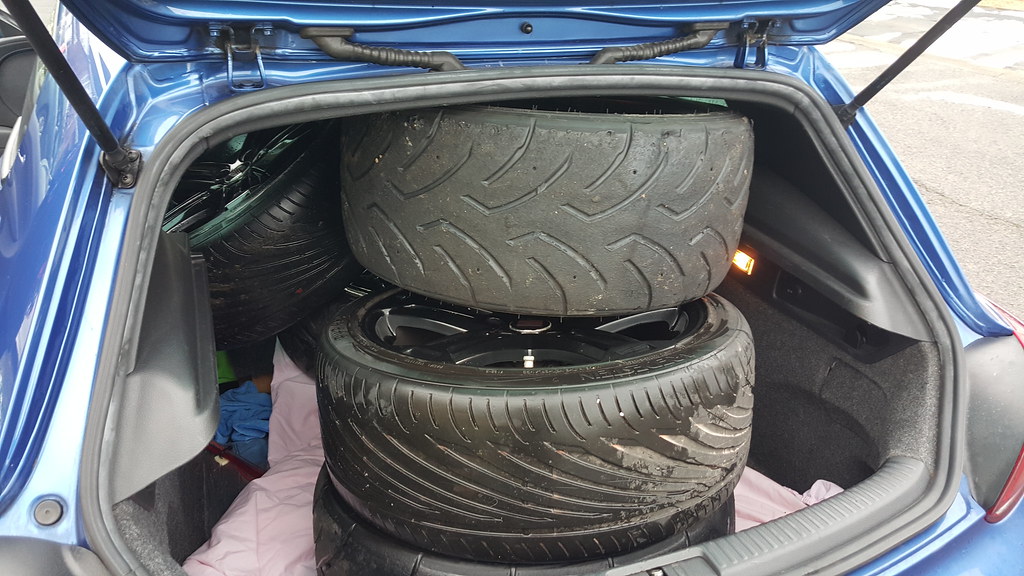
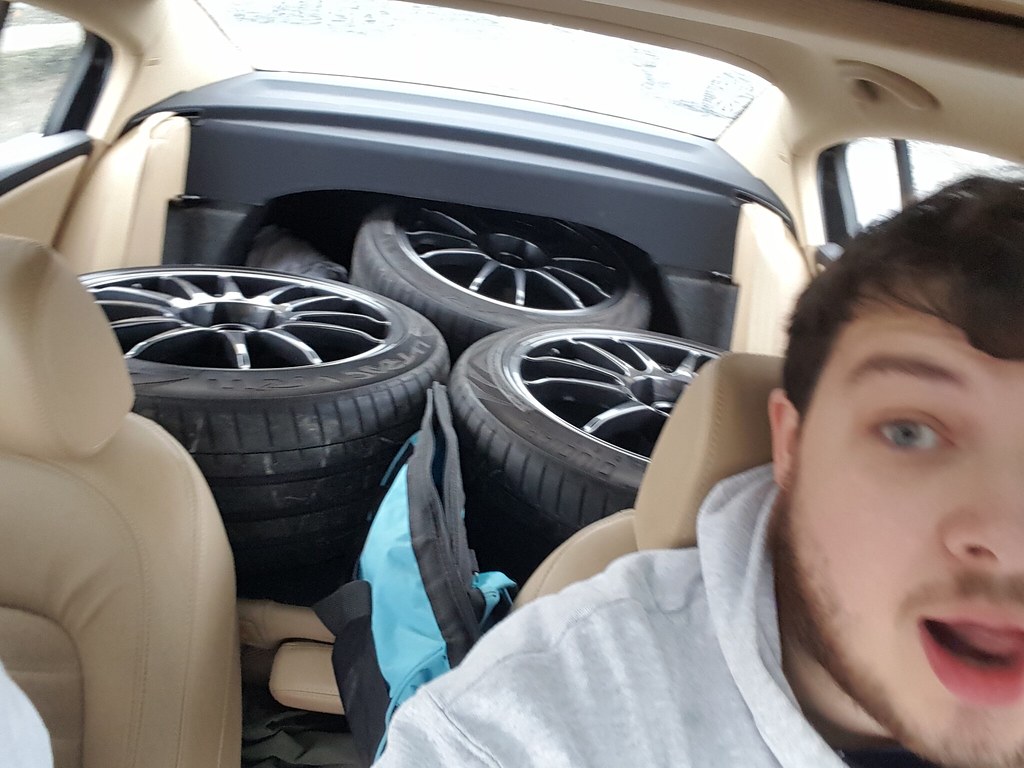
Complete set of Golf R Replica wheels
4 x 245-40-18 Dunlop Direzza 03g , all pretty much new.
2 x 225-40-18 Vredestein Sessanta, about half worn.
Managed to fit everything in the boot! So that was fun. 200 mile round trip.

Image20160117_155457 by Fat Bear Photography, on Flickr


Sold the wheels and tyres cheaply to friends, as the wheels do not fit over my brakes and I don't want to have to run spacers (I've sold all 4 of mine).

Re: Scirocco CR170 "Project Racek0r"

Posted: Mon Jan 18, 2016 8:07 pm
by roc82
Except the brakes, did the 245-40-18 Dunlop Direzza fit without rubbing anything? What ET are rims?
Thanks in advance for your response :)

Re: Scirocco CR170 "Project Racek0r"

Posted: Wed Jan 20, 2016 3:03 pm
by xjay1337
I haven't fitted them yet. But yes 245/40 tyres will fit fine. Hardly any larger than 235/40. I've had all the tyres removed and sold the wheels to my friend for his Scirocco.

Im not sure on the ET of the Golf R reps, they are about 45 I think.
the 245/40 is a perfect size for my oz which are 9J

even with 18x8 et40 or whatever the stock turbines are there's loads of room for the tyres.

Re: Scirocco CR170 "Project Racek0r"

Posted: Wed Jan 20, 2016 6:17 pm
by roc82
Thanks mate :)

Re: Scirocco CR170 "Project Racek0r"

Posted: Fri Jan 22, 2016 10:24 pm
by xjay1337
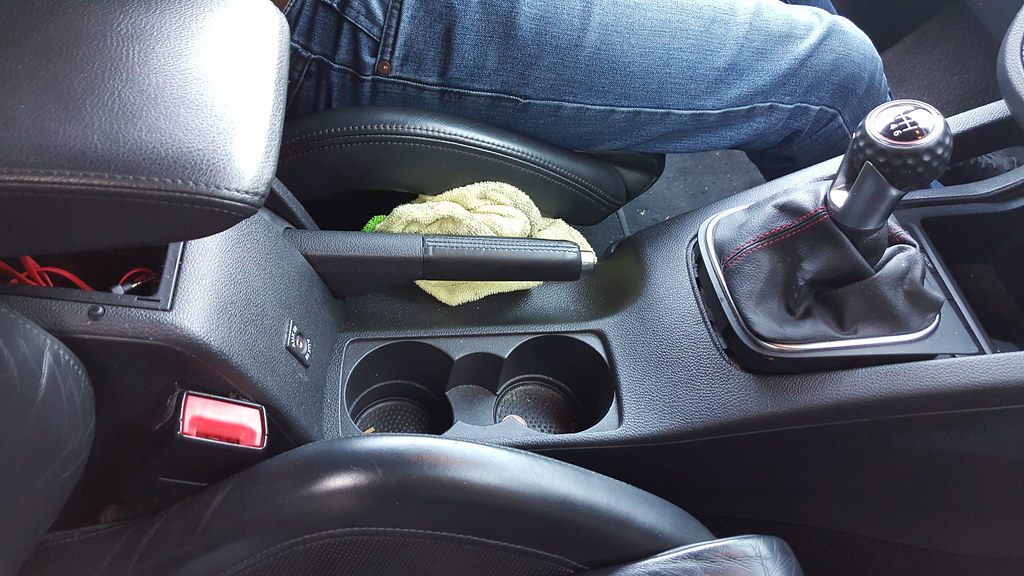
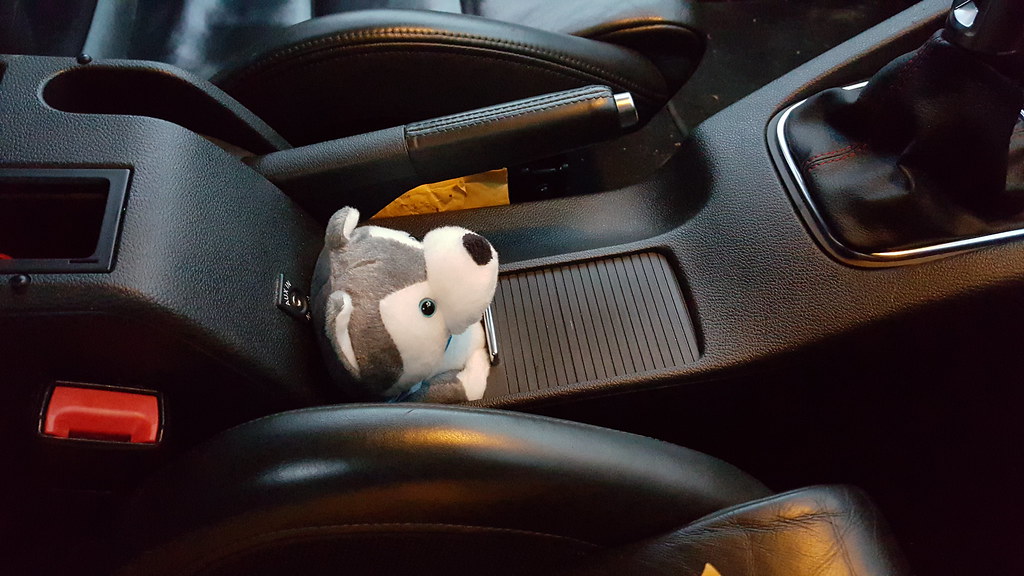
Did another little mod as well... looks minor, had to take half the interior apart, got a lot of scuffs on my fingers lol

Before :

Image20160122_145005 by Fat Bear Photography, on Flickr

and after

Image20160122_165129 by Fat Bear Photography, on Flickr


Thanks to Ben for helping.

Re: Scirocco CR170 "Project Racek0r"

Posted: Mon Feb 15, 2016 4:27 pm
by xjay1337
So I did get everything i needed to have done at the weekend.

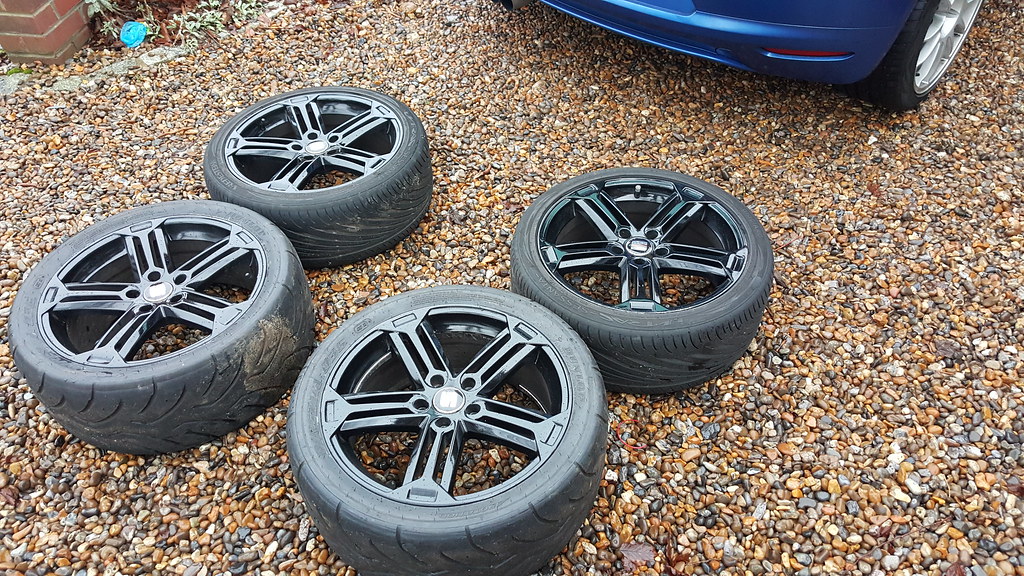
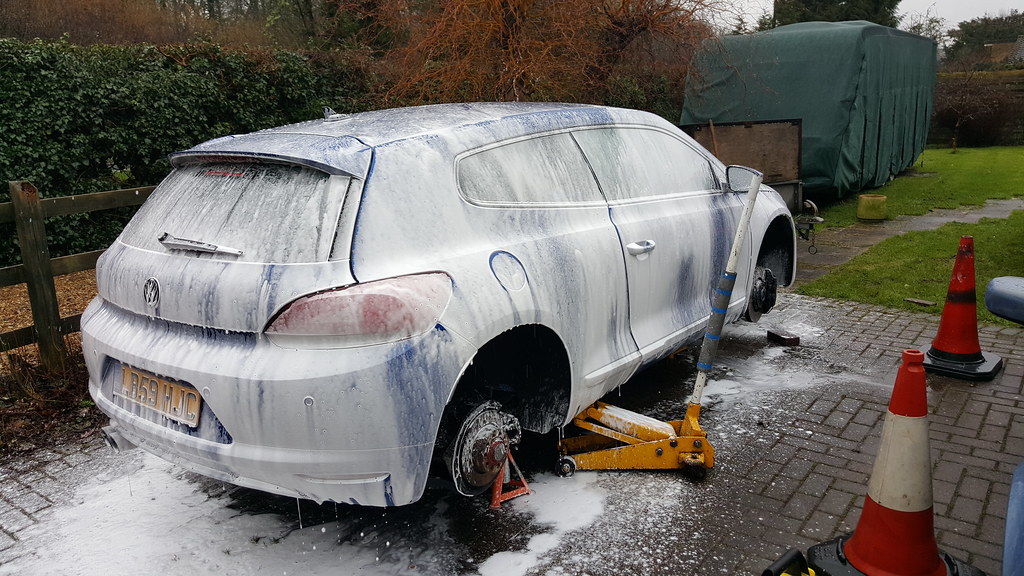
Car up on stands while the wheels were off being refurbished by Silver Wheels in Bournemouth. I've used Marcus before for 2 sets of wheels prior to this and each time I've been happy and he's a really nice guy and the dog is lovely so always worth the trip.
My friend and I were going to use TWS in Farnbruv as it's closer but they messed us around so thought fk it.

Image20160213_123305 by Fat Bear Photography, on Flickr

Everything got cleaned underneath. arches, suspension components etc.
No doubt all dirty again by now.

Roadtrip in the TFSI pissrat to collect them

Image20160213_093017 by Fat Bear Photography, on Flickr

Giving the car a bit of a polish, nothing too heavy as it wasn't that bad before to be honest.

Image20160213_150932 by Fat Bear Photography, on Flickr

No decent before and afters as a) it wasn't that bad and b) relatively tight working space and time meant no time for 50/50s and before and afters etc.

Image20160213_162851 by Fat Bear Photography, on Flickr

lovely metallic flake on the wheels. i've ordered new centercaps for them also.

and a dull and dirty picture.

Image20160214_152220 by Fat Bear Photography, on Flickr

Only a couple of weeks till harnesses go on. can't wait.

Re: Scirocco CR170 "Project Racek0r"

Posted: Mon Feb 15, 2016 6:50 pm
by roc82
i didn't expected to look this good painted, wheels are awesome!

Re: Scirocco CR170 "Project Racek0r"

Posted: Mon Feb 15, 2016 8:02 pm
by wigit
Just looks brutal, love it

Re: Scirocco CR170 "Project Racek0r"

Posted: Sun Mar 06, 2016 2:56 am
by Jav
Hi,

I'm trying to remove my rear seat back rests. Was it easy to do and if so could you guide me on how to remove them, please as there are cables that go into the rear of the seat and then into the car behind the trim.
Thank you.

Re: Scirocco CR170 "Project Racek0r"

Posted: Mon Mar 07, 2016 1:39 pm
by xjay1337
roc82 wrote:i didn't expected to look this good painted, wheels are awesome!
Thanks pal. make a big difference! silver was just another colour out of place.
wigit wrote:Just looks brutal, love it
thanks mate! sort of like your old one now :-)


Jav wrote:Hi,

I'm trying to remove my rear seat back rests. Was it easy to do and if so could you guide me on how to remove them, please as there are cables that go into the rear of the seat and then into the car behind the trim.
Thank you.
Hey mate it's quite simple...i can't remember exactly so long ago now! but no cables go anywhere. only needed normal tools. nothing tricky, you'd be able to if you have a look.
fold them down there is some bolts behind them in the middle.. think there was one under the base.. I think you need to remove some of the trims as well. They twist out. But the base and the seat backs come out separately.


cheers :-)


main thing that went on was the following

- harness bar fitted
- new air con condensor (still from the deer)
- 5w40 nanodrive service
- project mu h16 pads and new mtec j hook tts discs
- coolant hose repair (blew out again that's the second time ffs darkside).

arrived lovely and on time and the correct date which is always a good start
was greeted by Chris, alex's new help. have to be honest i was a bit worried when alex told me he got a new guy because i completely trust alex and always have faith in him and when you get a new employee i'm just very cynical but i needent have been
chris is a great guy and a right laugh.

anyway we started by stripping the interior out.
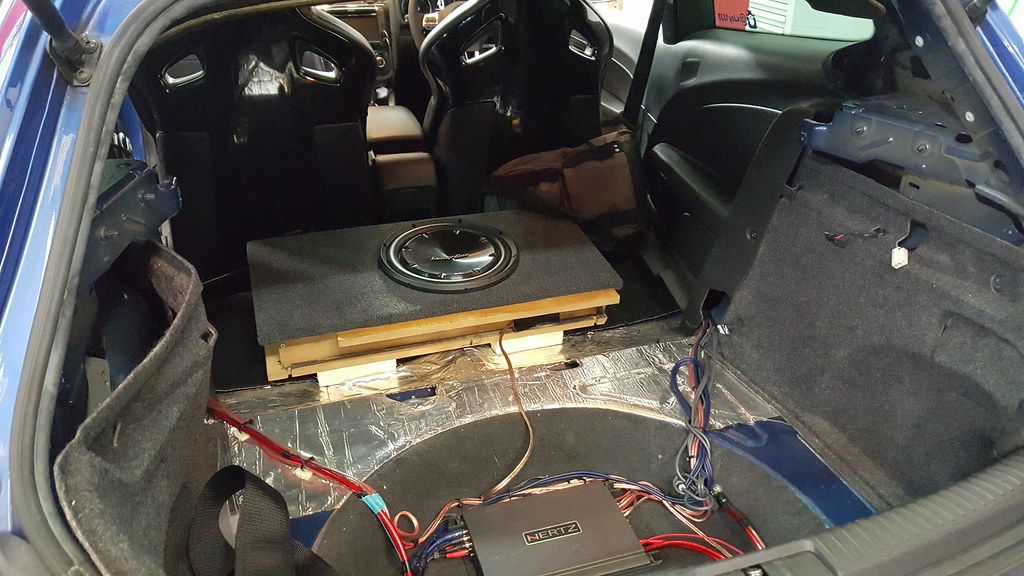
Image20160304_092125 by Fat Bear Photography, on Flickr
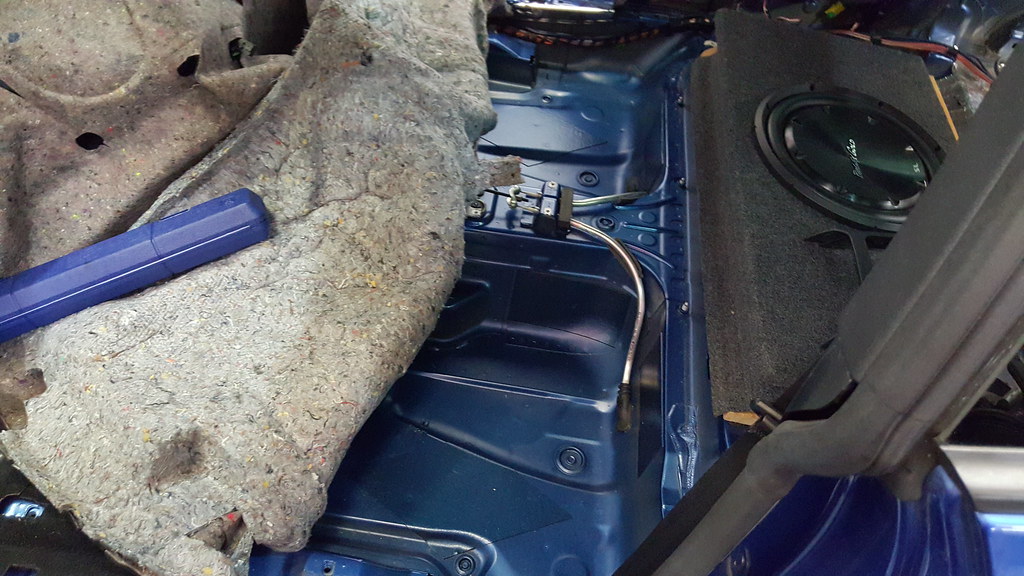
Image20160304_102252 by Fat Bear Photography, on Flickr

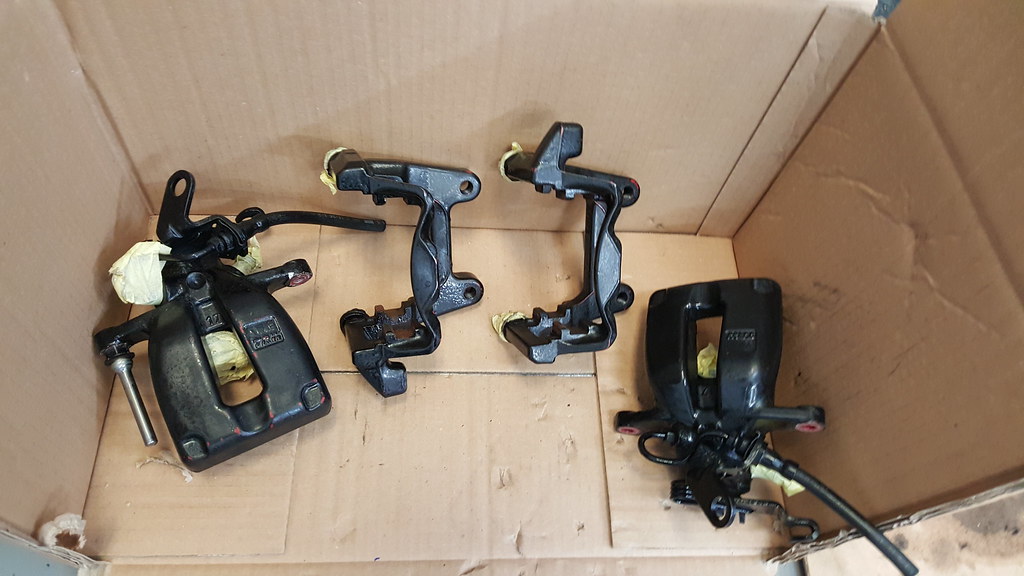
Also as there was alot of stuff during the day that I couldn't really help with (welding/fabbing etc) I brought along loads of paint and my new 310 calipers. need to get discs and pads but i'll do that at a later date as i am really broke now!!! :chicken:

Image20160304_110321 by Fat Bear Photography, on Flickr

Started with the filler primer after giving them a key up. probably was a mistake as it sunk later i should have topped it with a normal primer but hey ho i can touch it up when we go to fit them.
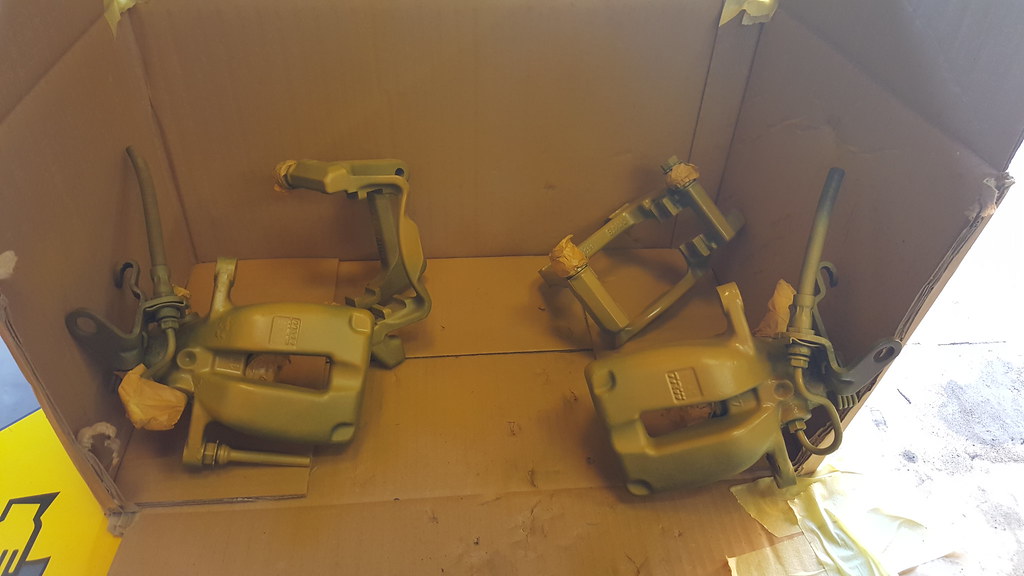
Image20160304_111444 by Fat Bear Photography, on Flickr

New project Mu pads...
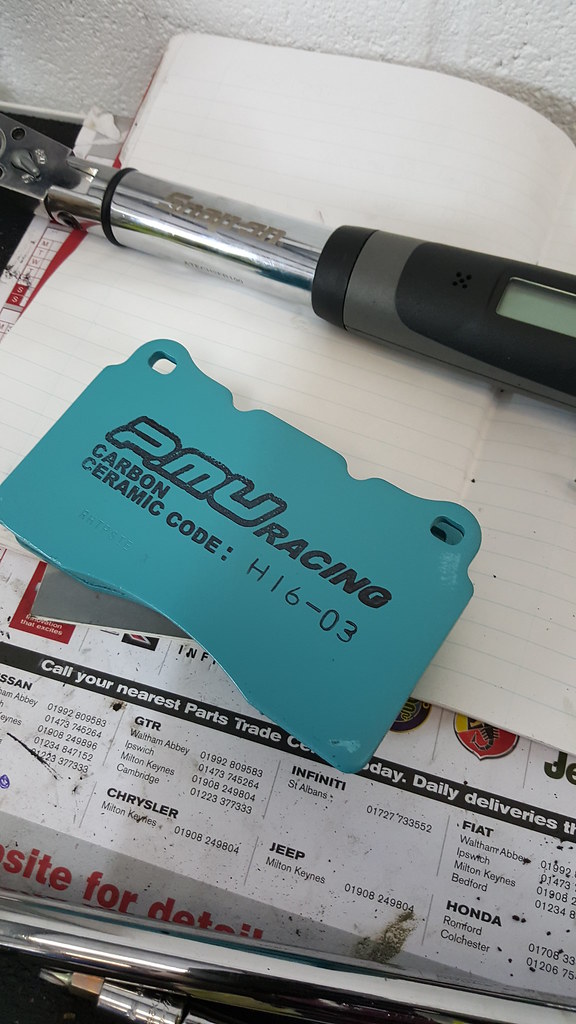
Image20160304_112401 by Fat Bear Photography, on Flickr

New Mtec j hook TTS discs with their black coating.
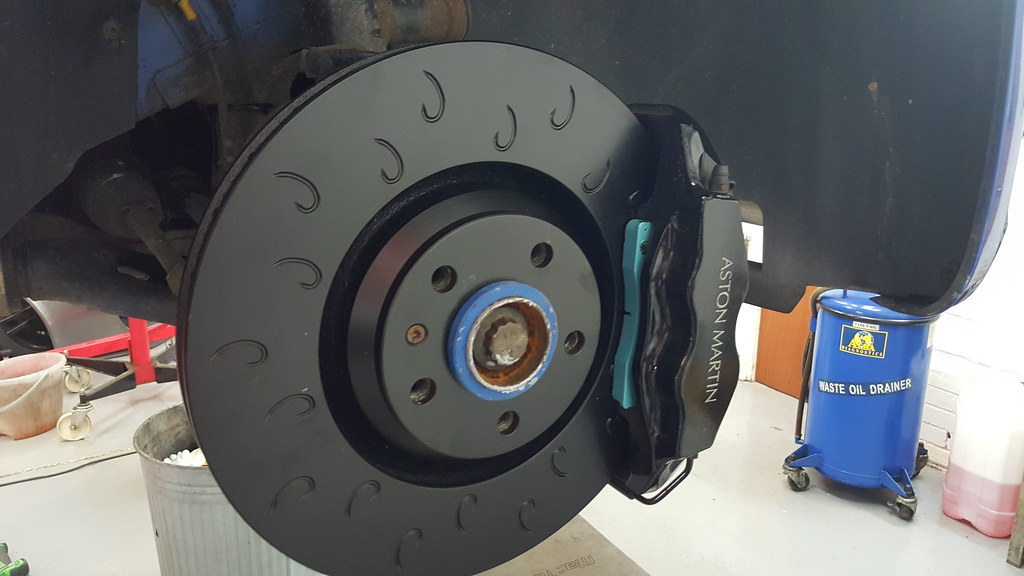
Image20160304_114124 by Fat Bear Photography, on Flickr

You may ask why I didn't go for the vagbremtechnic discs, simply they are far too bloody expensive. and i have spoken openly with alex about this too.
everyone knows they are pagid discs which are then machined with the j hook entry.
I haven't checked prices of the pagid discs but I imagine them to be about £100. So for the extra £120 that it costs you are paying for them to put some grooves or hooks in them.
there is no offer of an anti-corrosion coating (black/silver/gold like every other place).

for me appearance is second to function but there's nothing worse than spending a chunk of money on nice wheels and nice brakes but i'm all about a balance and the mtec discs were like £175 posted with the black coating?
i simply cannot justify another £50 or so on discs.
we'll see how these go but i've had mtec before and they were fine.

giving the car a check over i inspected a previous repair from where i had a leaky coolant hose because it was rubbing/catching on the map sensor plug as the darkside pipework has the map sensor housing at a weird angle combined with the larger pipework means it can catch.
luckily i hadn't lost any coolant as the hole was just above the clip but was still a lucky escape.
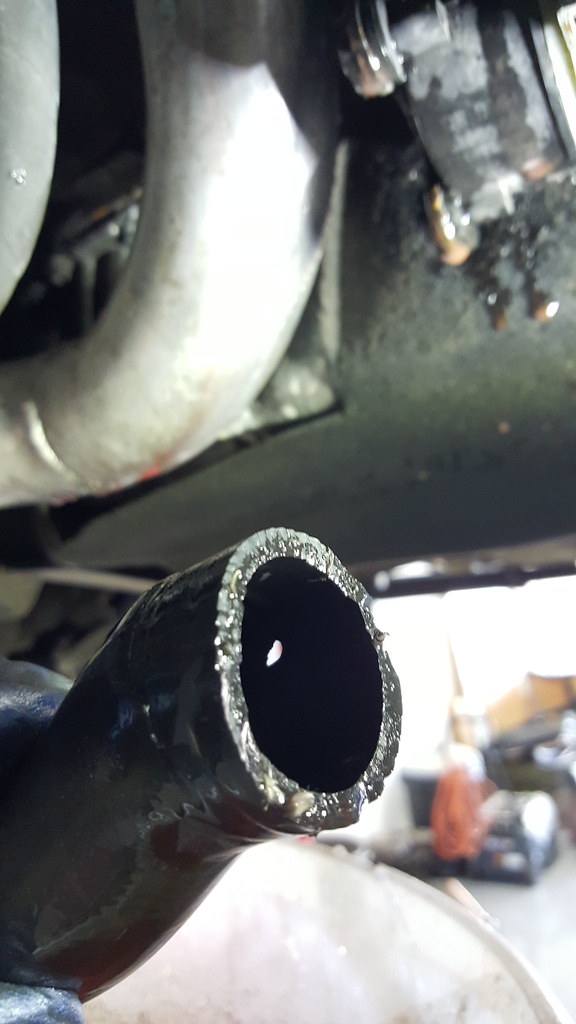
Image20160304_125122 by Fat Bear Photography, on Flickr

Alex getting started on my harness bar!
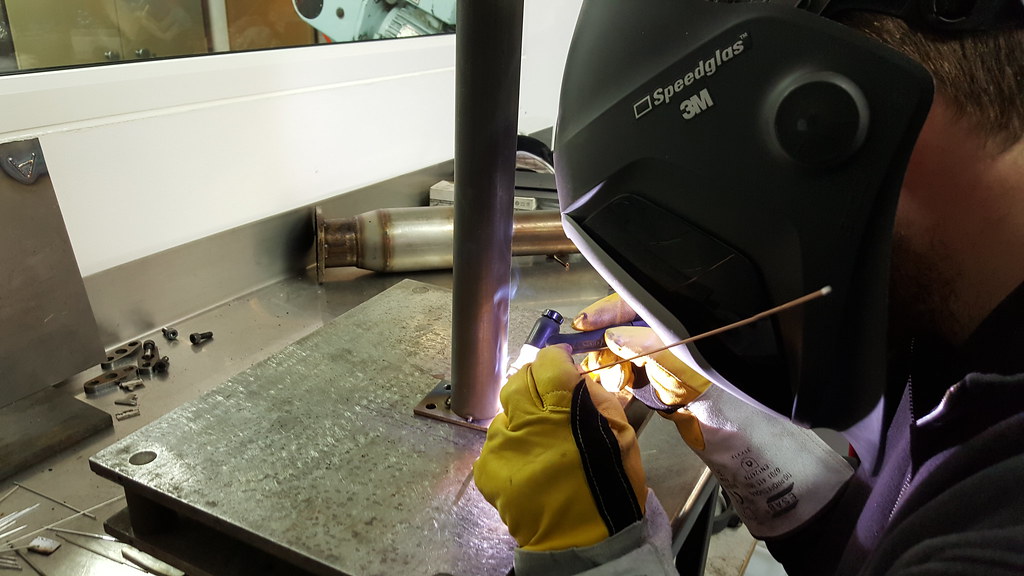
Image20160304_125158 by Fat Bear Photography, on Flickr

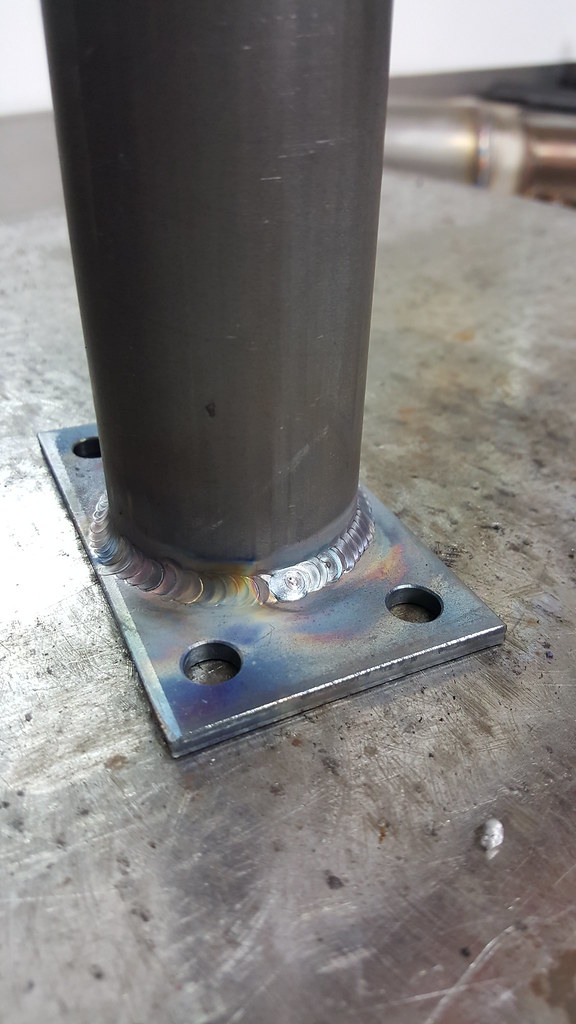
Stacking dimes yo.
Always like Alex's welding, he's very talented at many things.. ;)

Image20160304_134757 by Fat Bear Photography, on Flickr

By this time we had stopped for lunch!
Alex bought me a creme egg
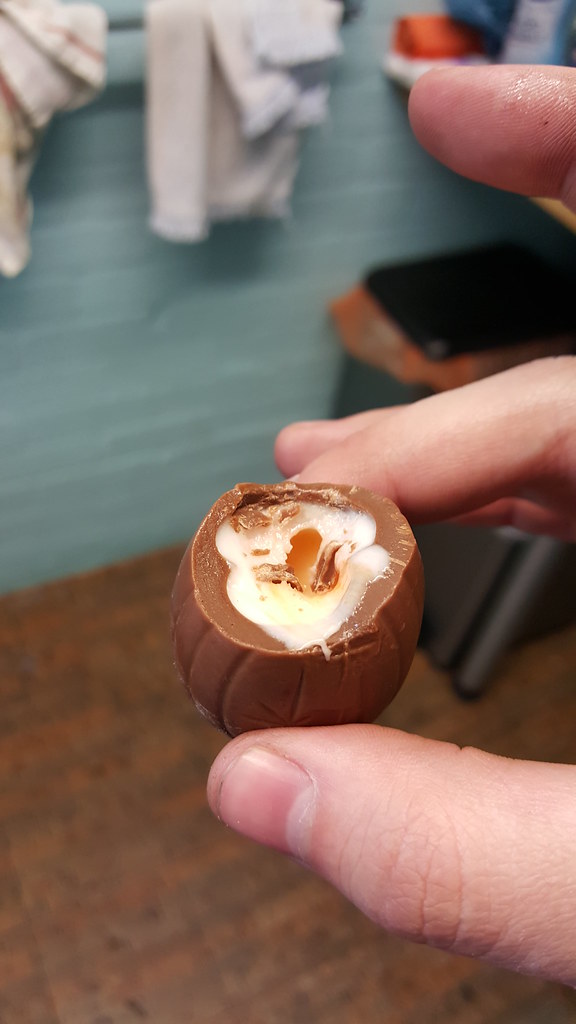
Image20160304_134932 by Fat Bear Photography, on Flickr

Back to my 310mm rears, i had by now applied the paint and some high temp clearcoat.
Very shiney, considering how shit the paint underneath is i'm quite happy with the result.
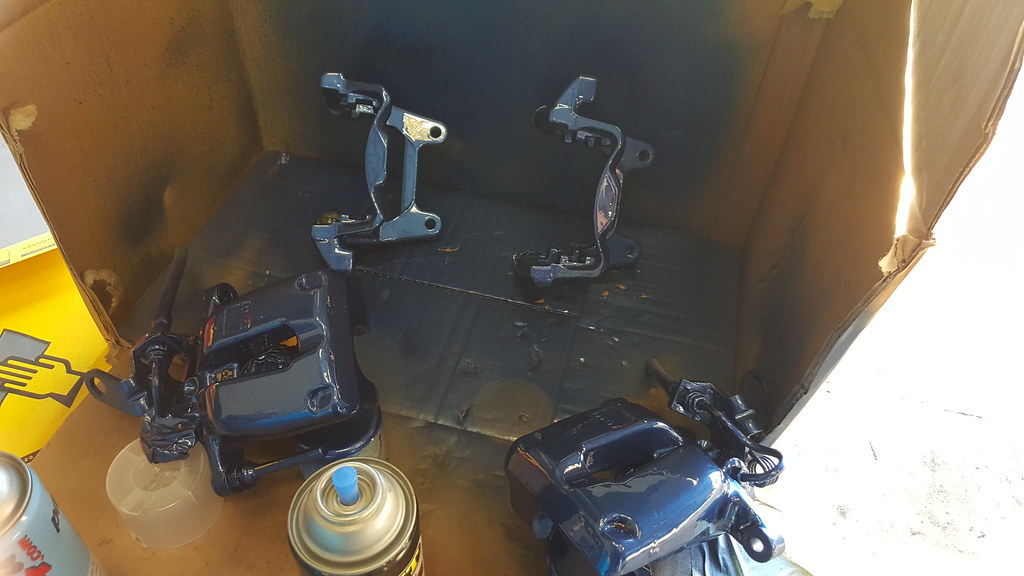
Image20160304_140803 by Fat Bear Photography, on Flickr

Harness bar finished, I got to painting it as I didn't want bare metal in the boot, trying to make it look presentable.
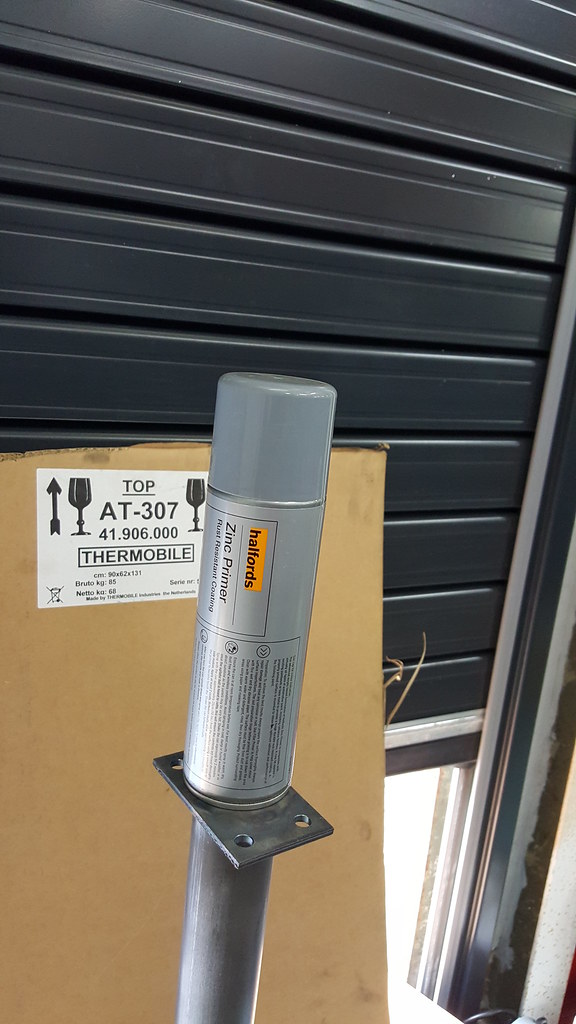
Image20160304_142652 by Fat Bear Photography, on Flickr

Outside after a few coats of zinc primer as we were using t45 just incase of any corrosion
should have then put some filler primer then normal primer instead but was in a bit of a rush
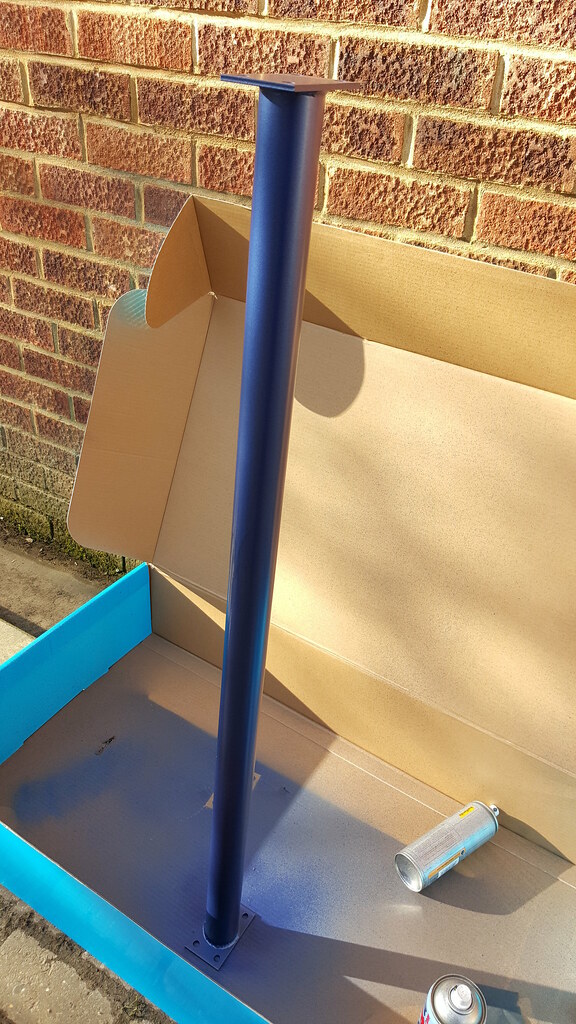
Image20160304_150136 by Fat Bear Photography, on Flickr

More being stripped out.
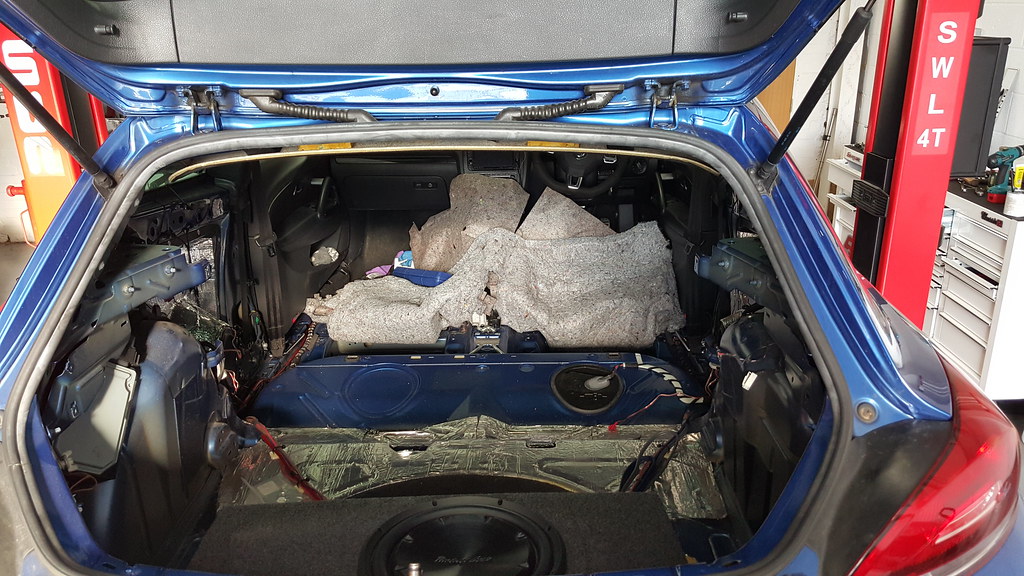
Image20160304_150412 by Fat Bear Photography, on Flickr


Replacing my duff air con condensor.
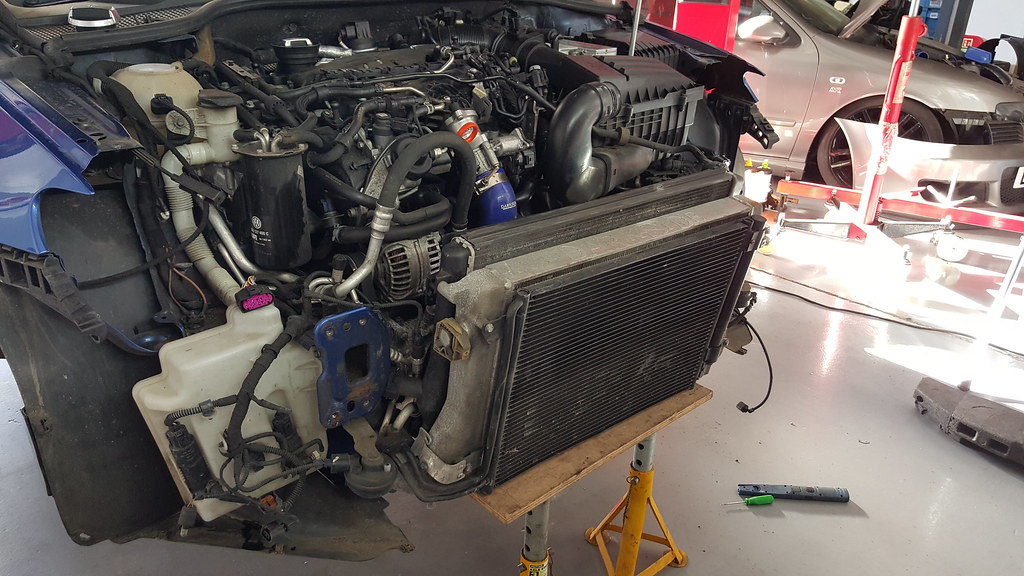
Image20160304_151534 by Fat Bear Photography, on Flickr

Finished off the bar, looks presentable enough.
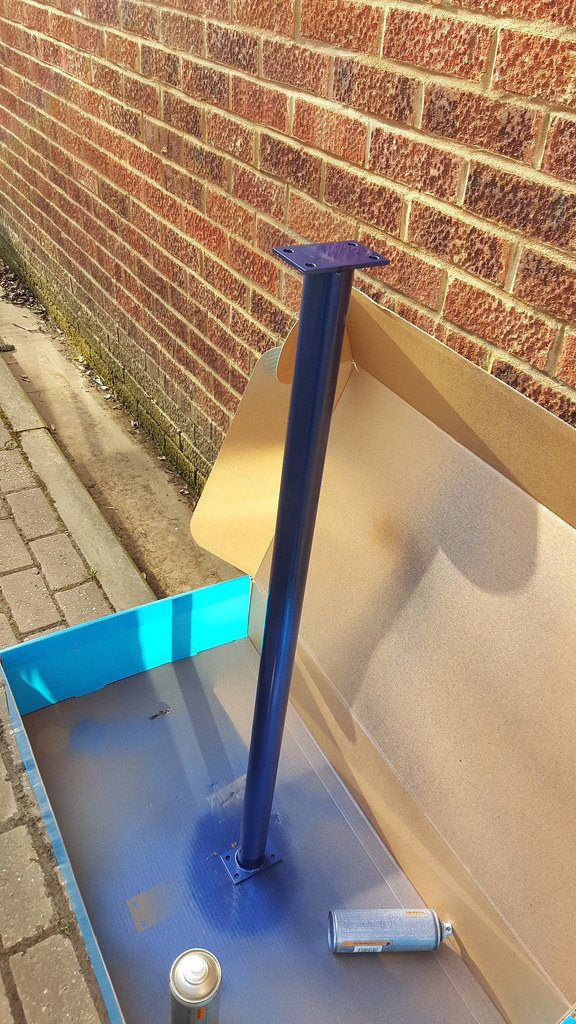
Image20160304_154128 by Fat Bear Photography, on Flickr

Alex's pretty little face.
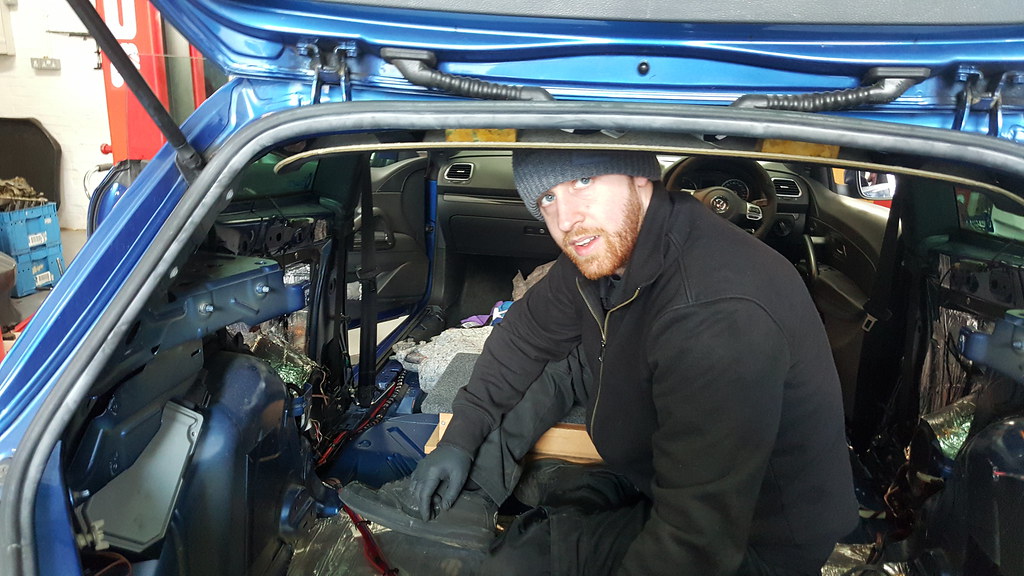
Image20160304_164657 by Fat Bear Photography, on Flickr

Aligning things up to make it as level as possible...
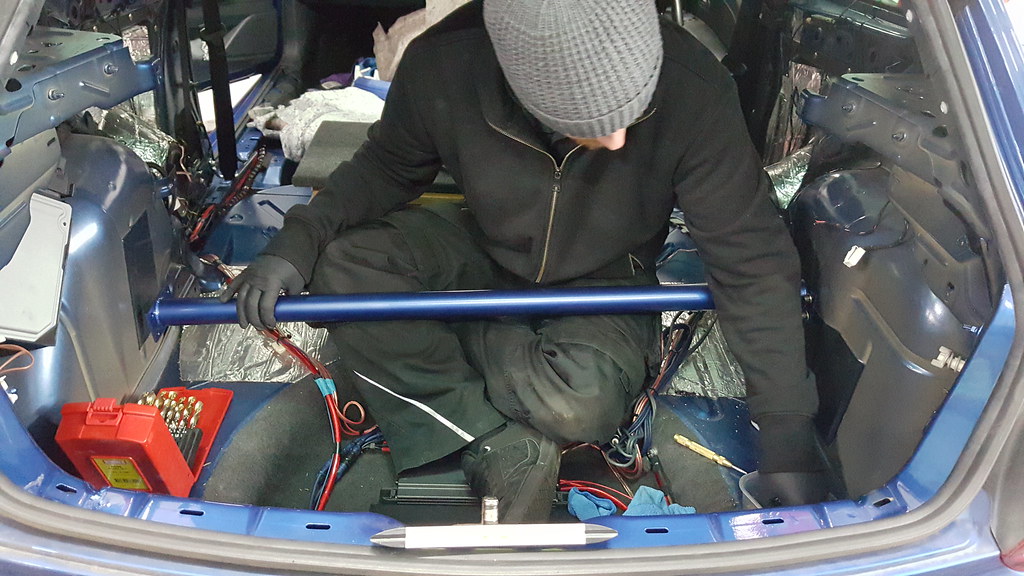
Image20160304_165241 by Fat Bear Photography, on Flickr

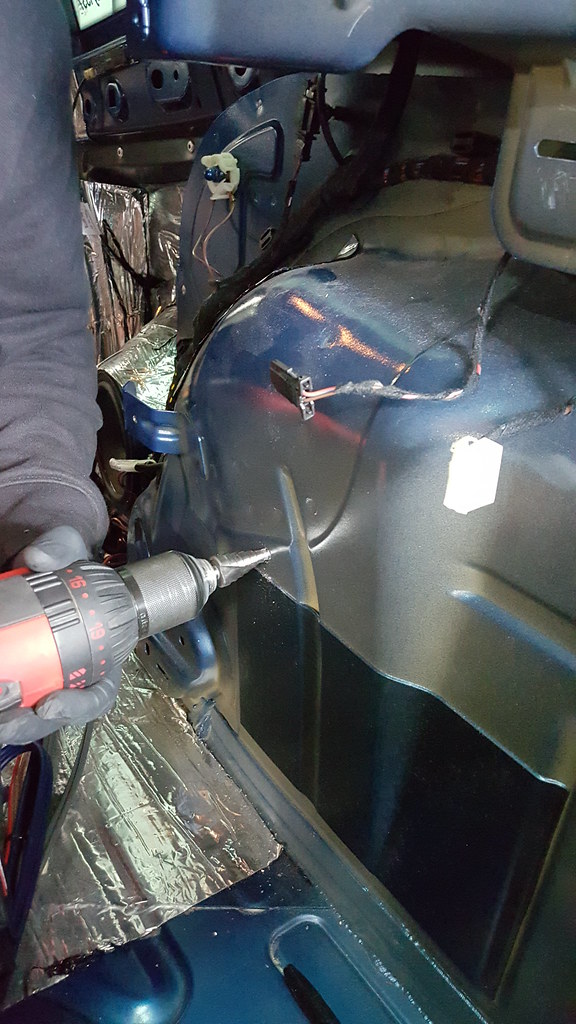
Yet more holes being drilled into my car :(
Image20160304_164857 by Fat Bear Photography, on Flickr

I gave the holes a dusting of paint just to seal up any future rust.

Alex got to grinding back the paint inside so he could weld in some FIA approved mounts for the harnesses.
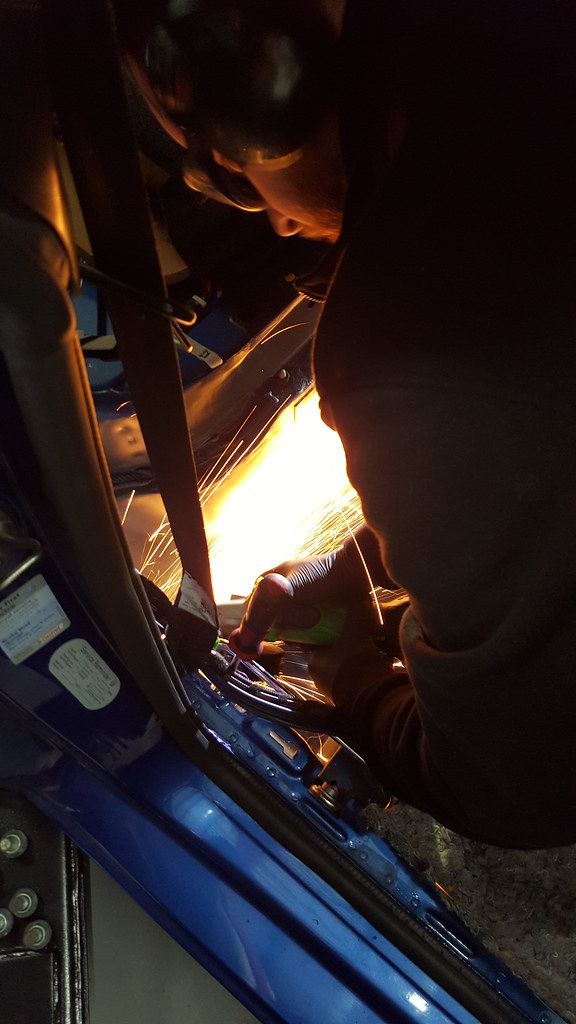
Image20160304_171355 by Fat Bear Photography, on Flickr
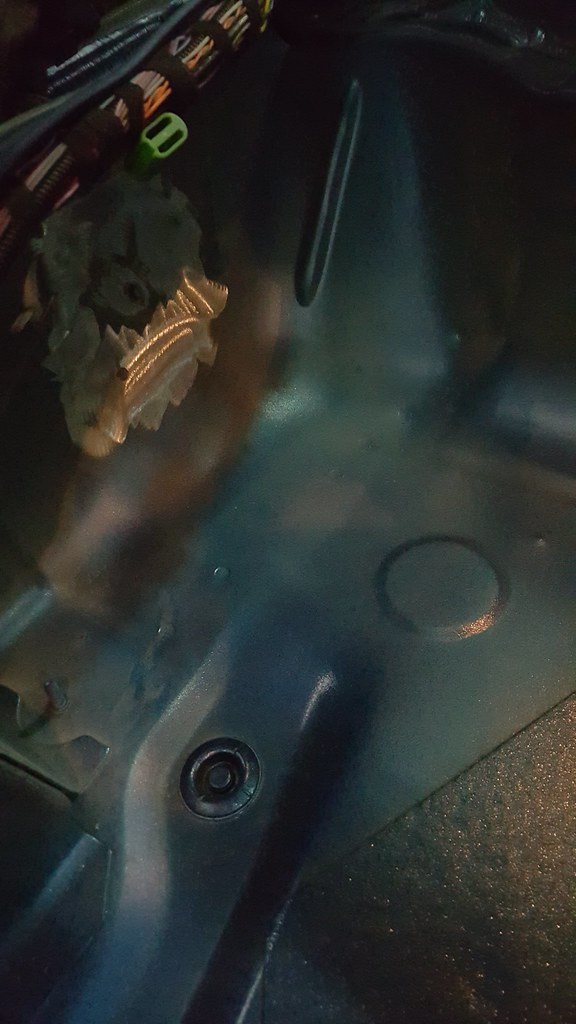
Image20160304_171558 by Fat Bear Photography, on Flickr
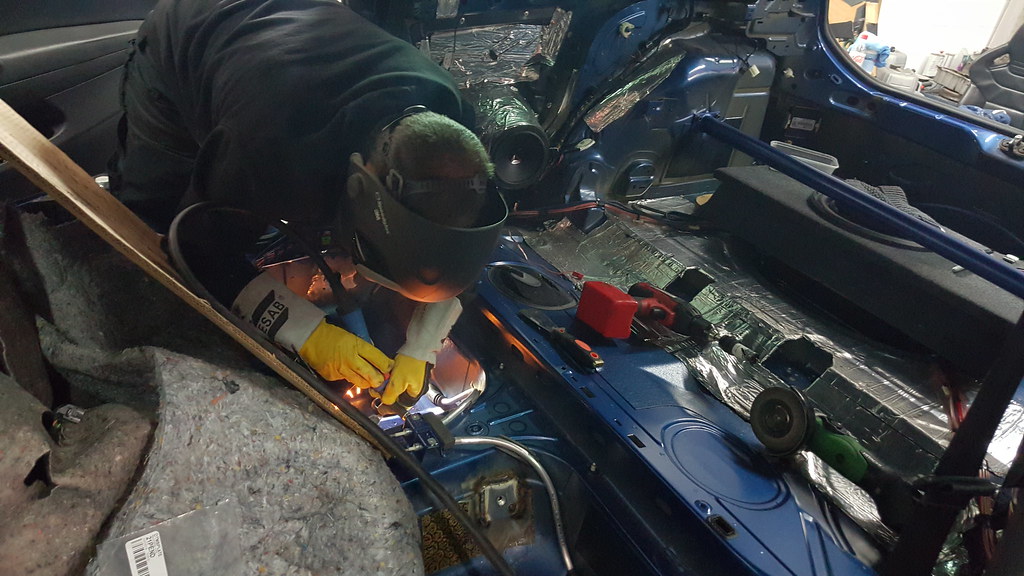
Image20160304_180937 by Fat Bear Photography, on Flickr
Large 1024 × 576

MIG welded (looks better than some tig!)
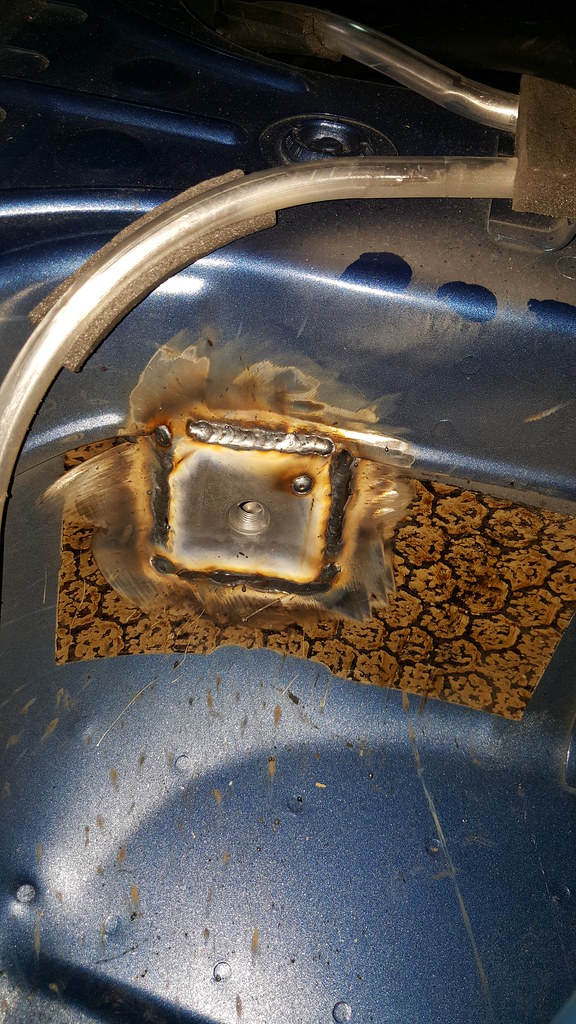
Image20160304_182045 by Fat Bear Photography, on Flickr

Some from the other side.
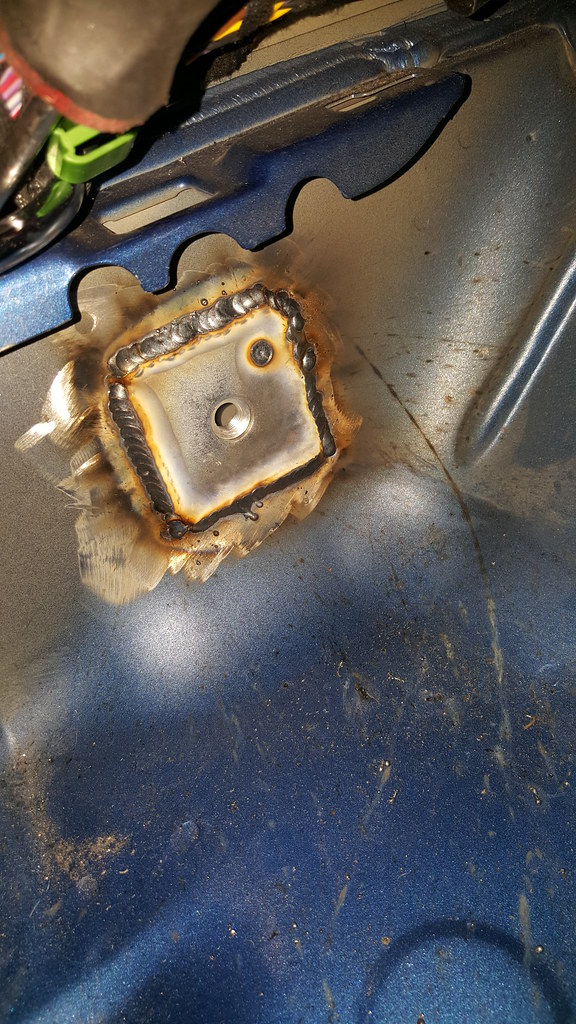
Image20160304_182056 by Fat Bear Photography, on Flickr

Given a dusting of paint and the eyelet threaded in!
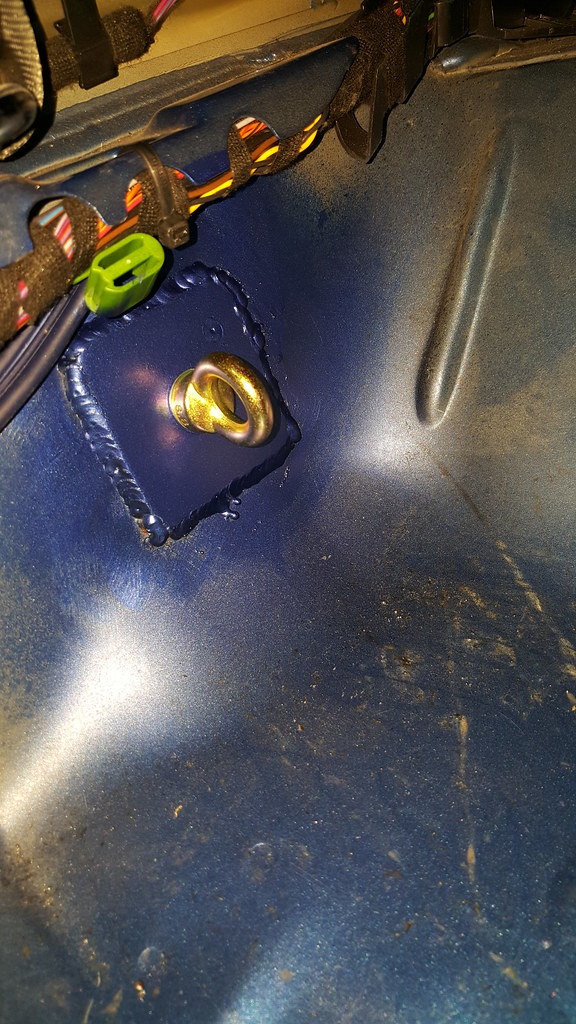
Image20160304_183352 by Fat Bear Photography, on Flickr

Sliced the carpets as little as possible and layed the carpet down again so it looks almost oem unless you have a keen eye!

Harness bar bolted in place, harnesses in!
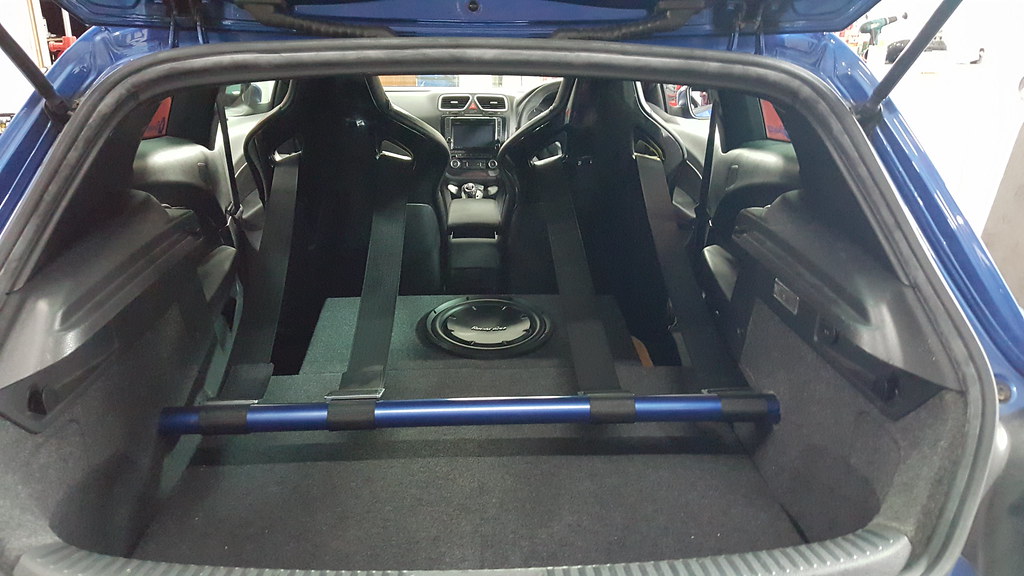
Image20160304_211257 by Fat Bear Photography, on Flickr

El finito!
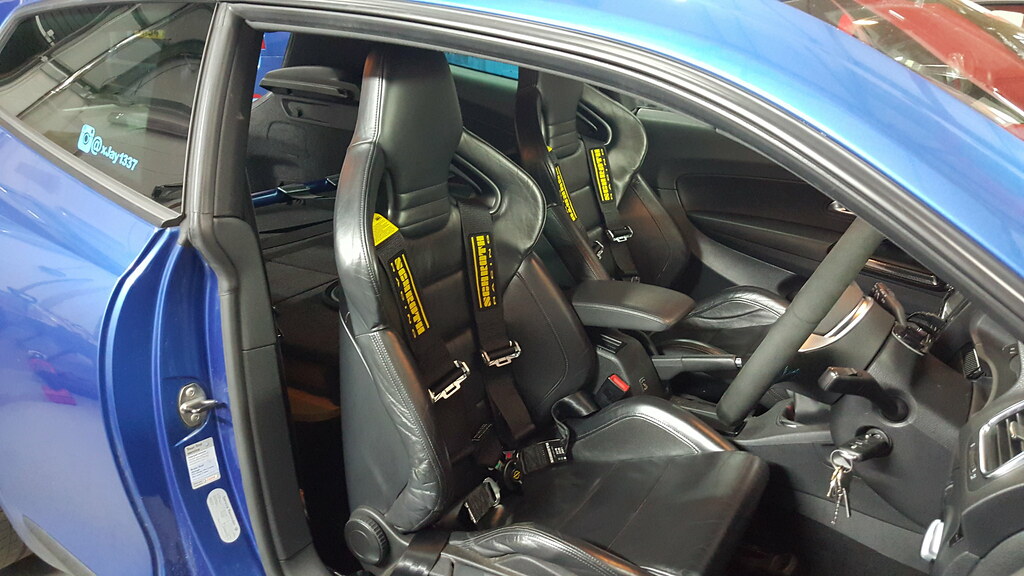
Image20160304_211309 by Fat Bear Photography, on Flickr

Re: Scirocco CR170 "Project Racek0r"

Posted: Mon Mar 07, 2016 2:35 pm
by xjay1337
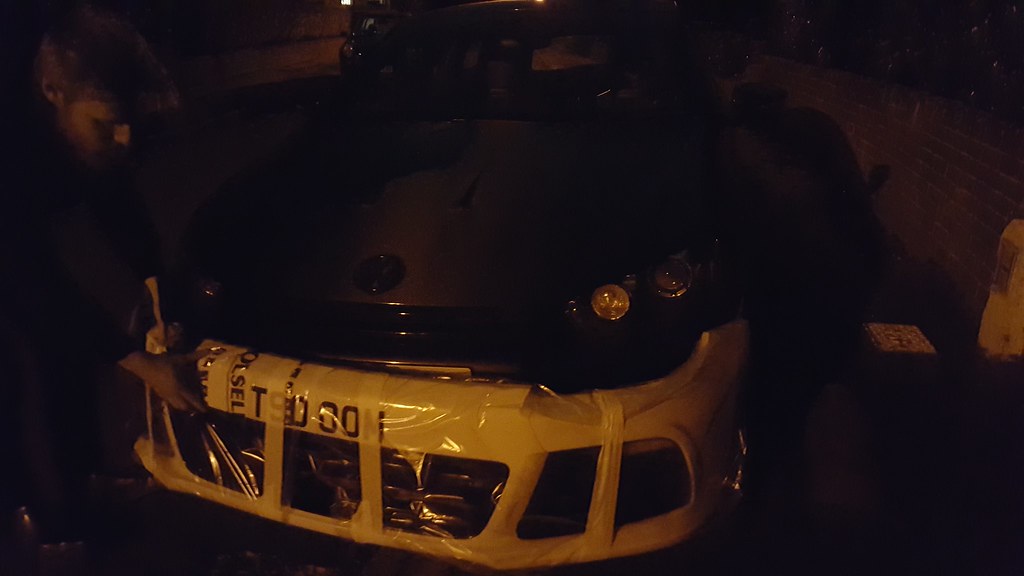
In addition thanks to a mate Tom I got an R bumper.

Image20160301_202810 by Fat Bear Photography, on Flickr
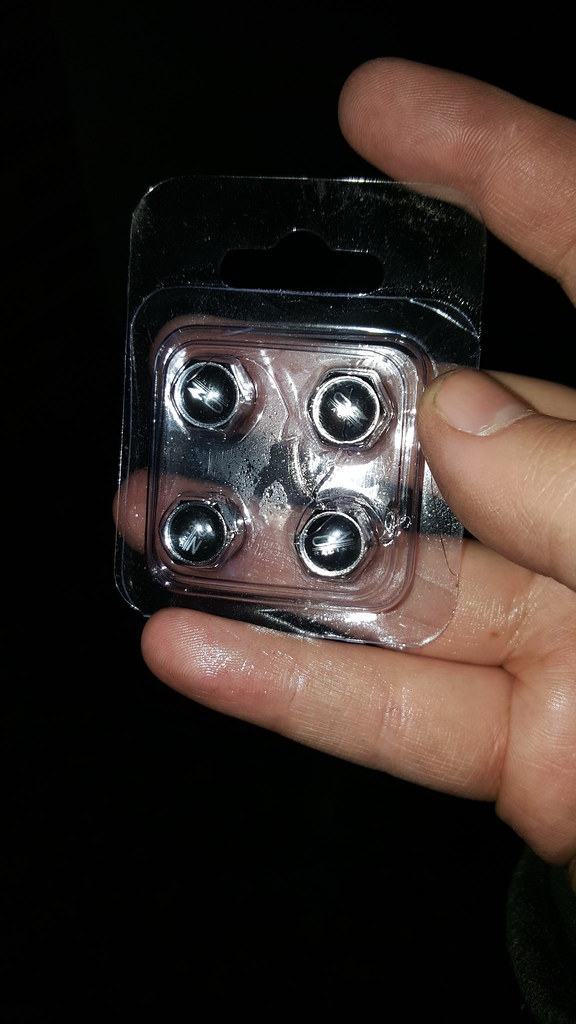
A little thing, got some OZ valve caps!

Image20160224_193505 by Fat Bear Photography, on Flickr
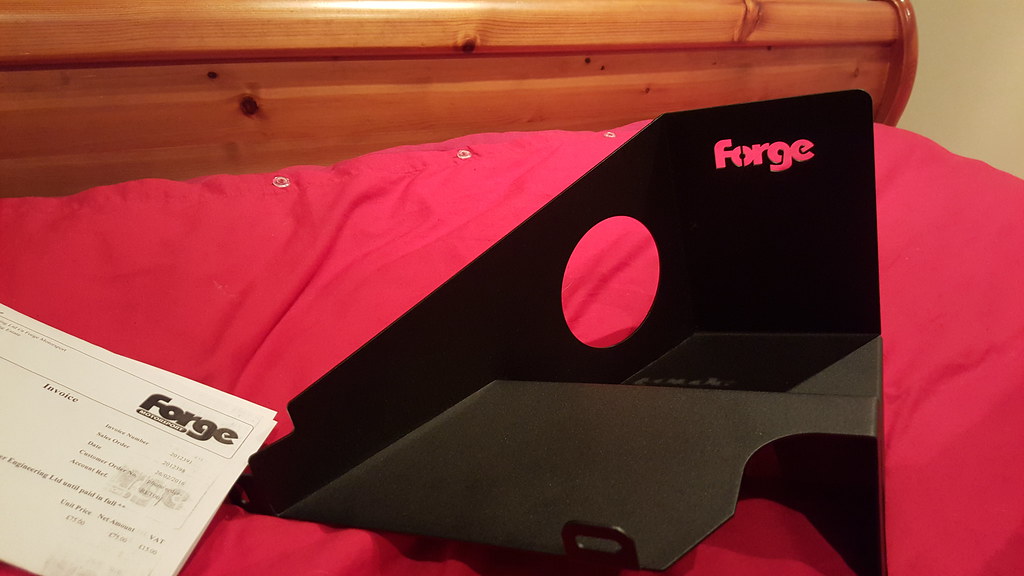
and I'm starting to get bits to fab up my own intake solution. I have a heatshield from Forge and some 80mm hose. Need to get a suitable filter (I'm still researching which one) and will go from there.

Image20160229_190052 by Fat Bear Photography, on Flickr